In the saldia PRO backend you can create a blog to offer your customers up-to-date information in your shop.
1. Navigate to the blog settings under "Website > Blog".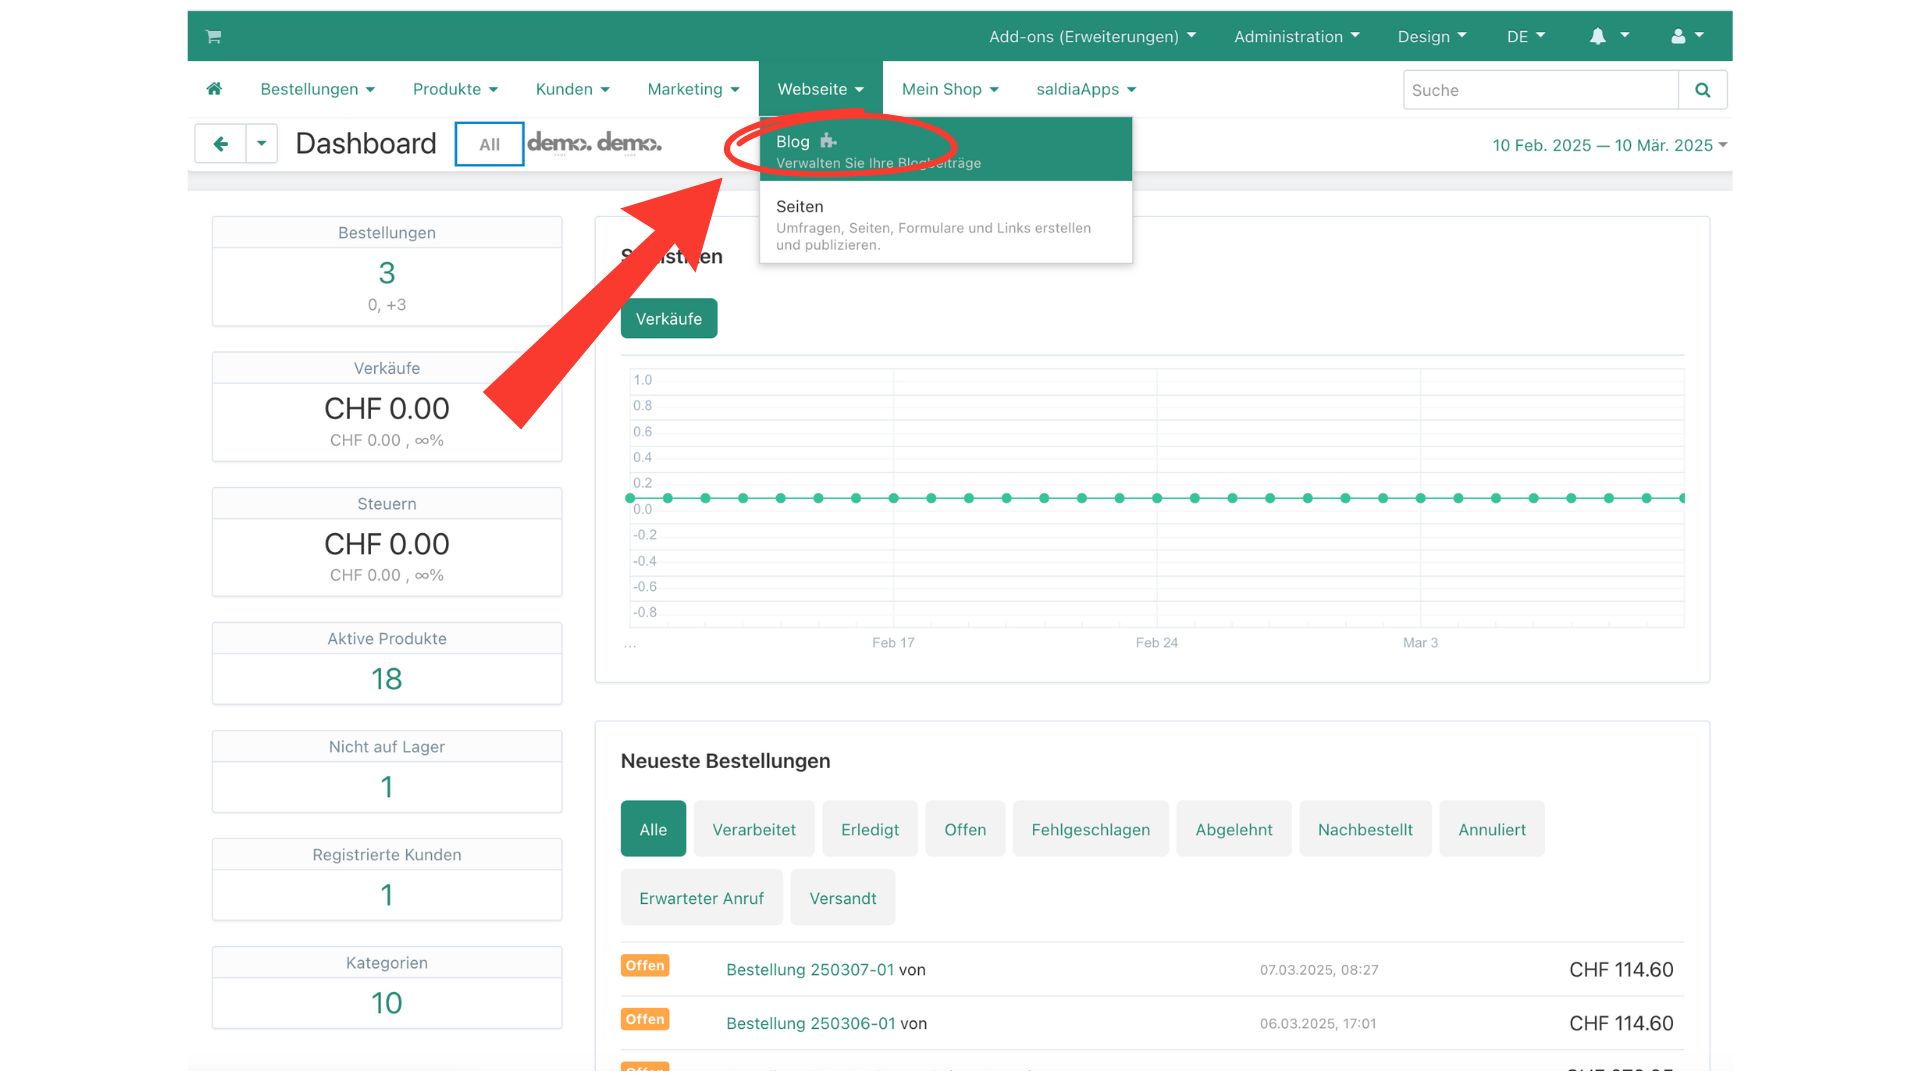
2. Create a new blog post using the button at the top right.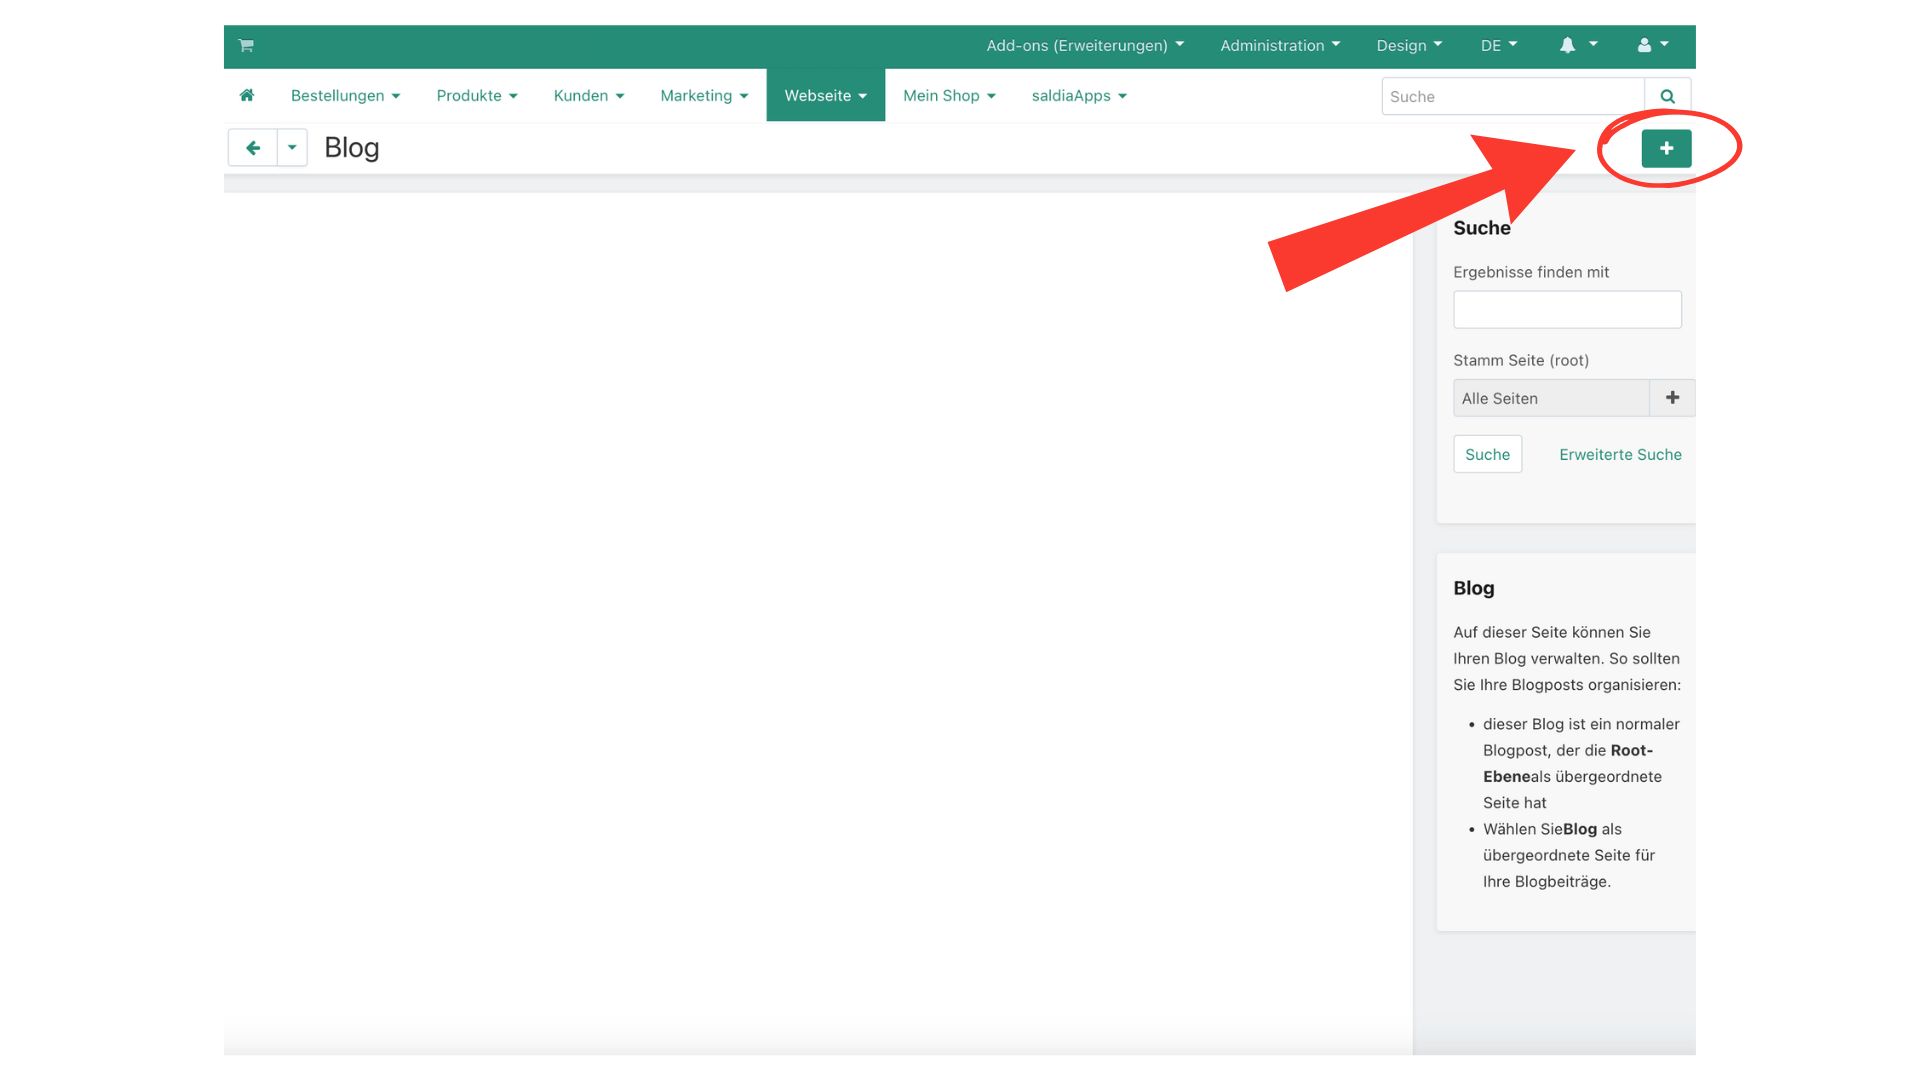
3. This post will serve as an overview for all your following blogs. Therefore, give it a suitable name. Then create the blog post using the button at the top right. Important! This post is created as published. As long as you have not linked the post, your customers will most likely not find it, but there is a possibility that they will find it.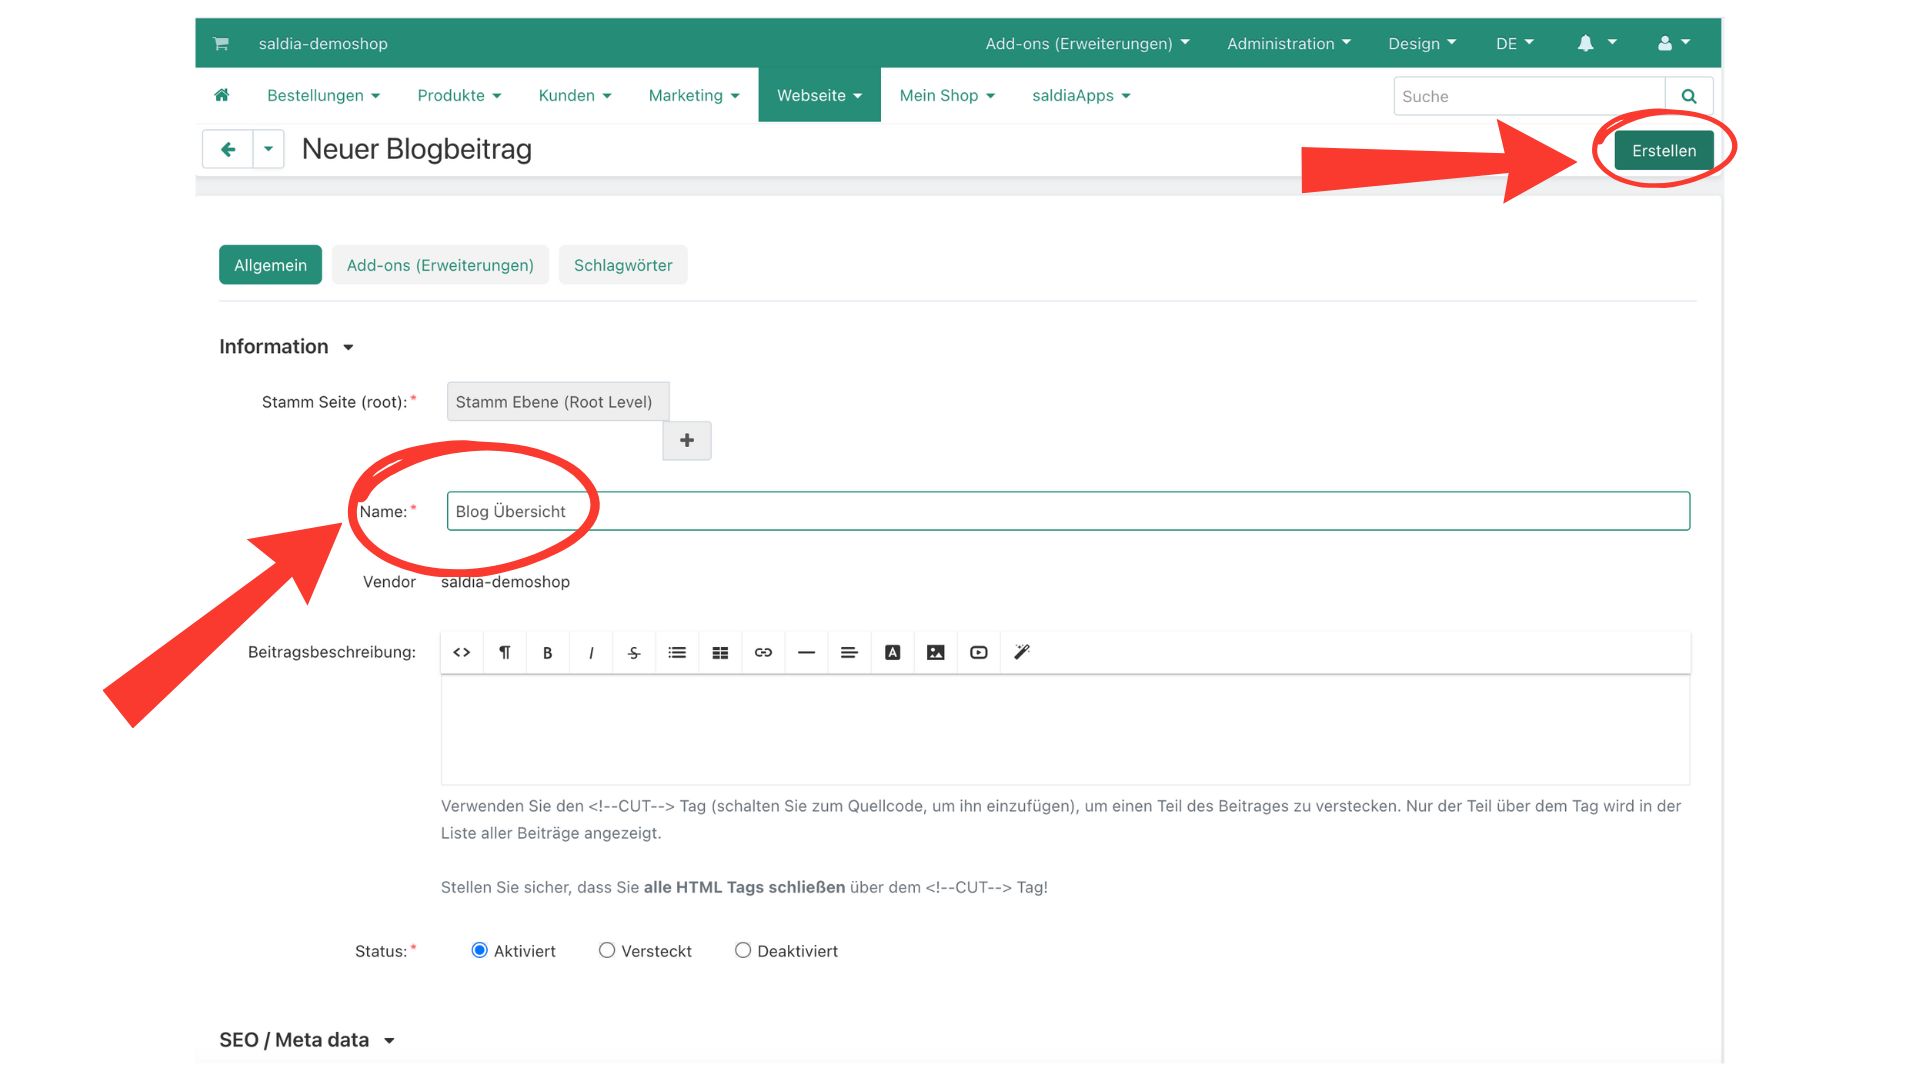
4. Change the affiliation of this post.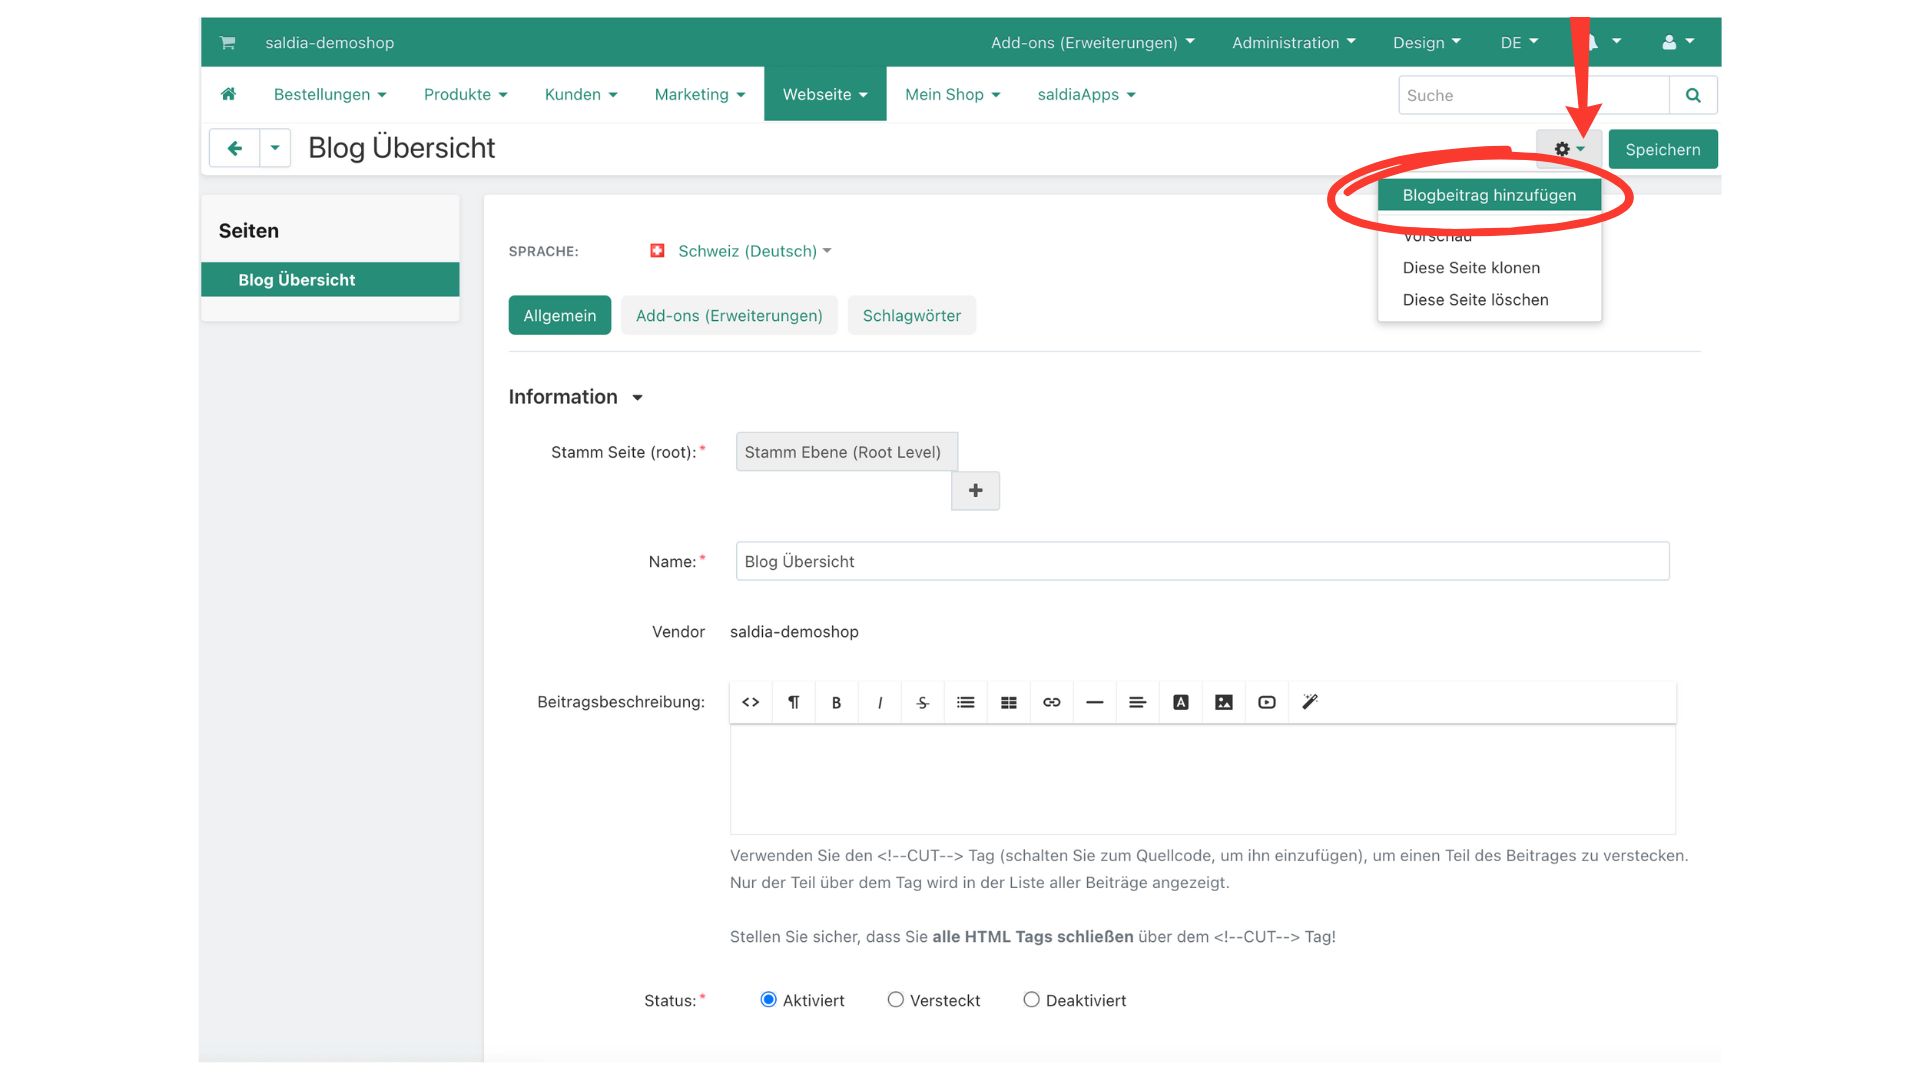
5. Select the main page you created earlier.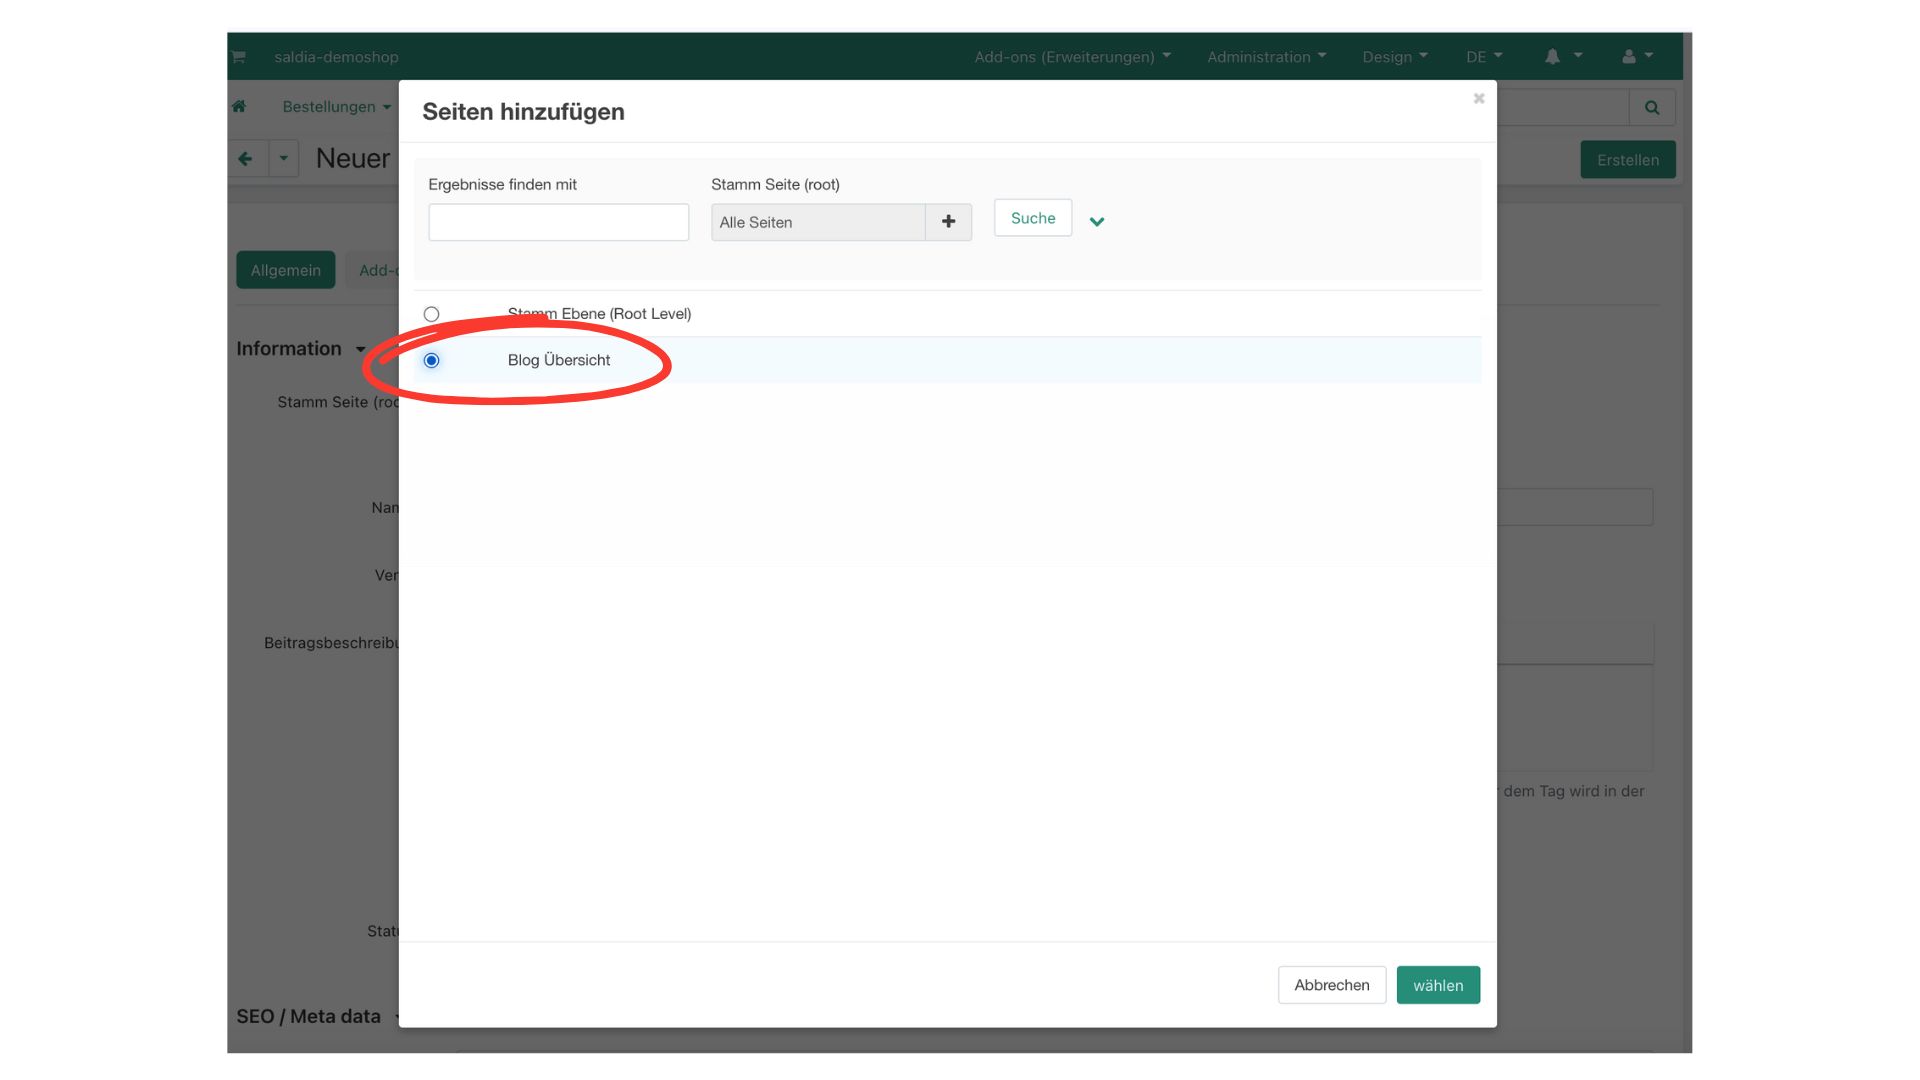
6. Add the content for your first blog.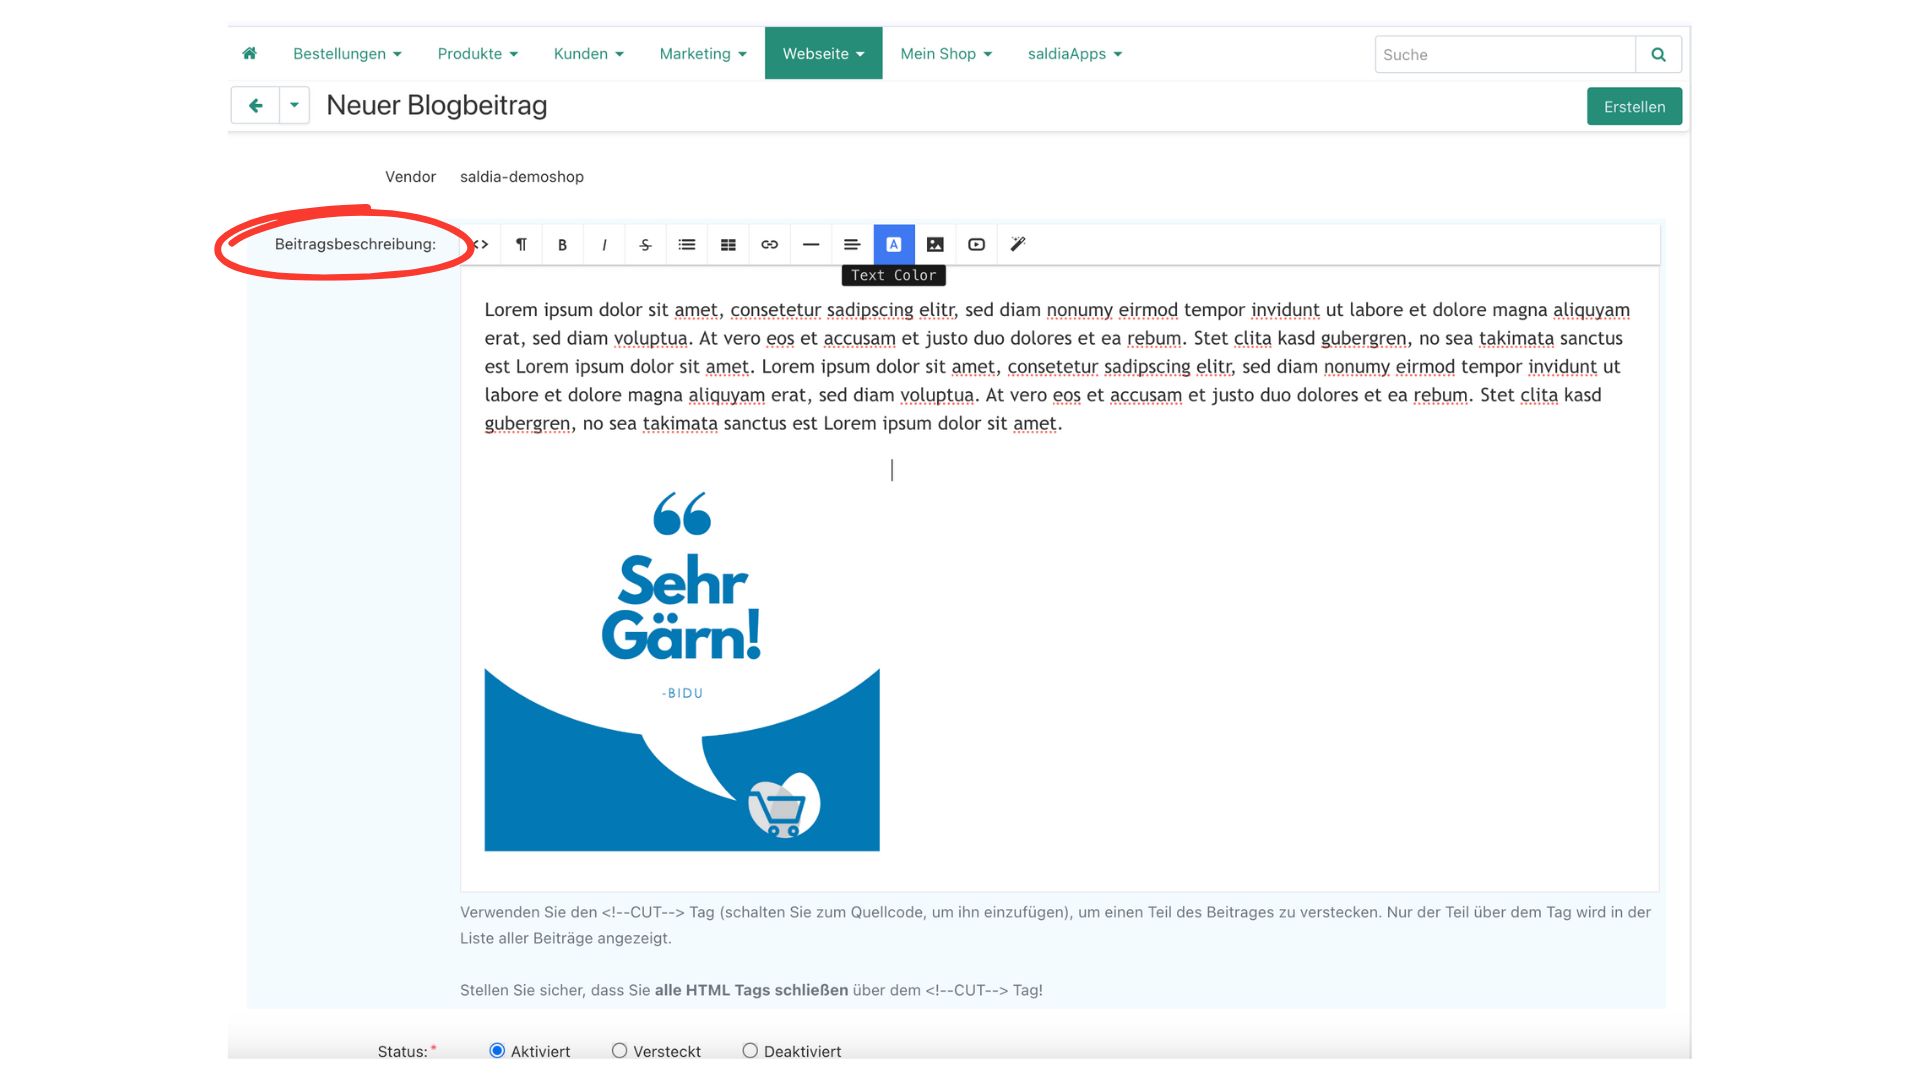
7. Create your first post using the button at the top right.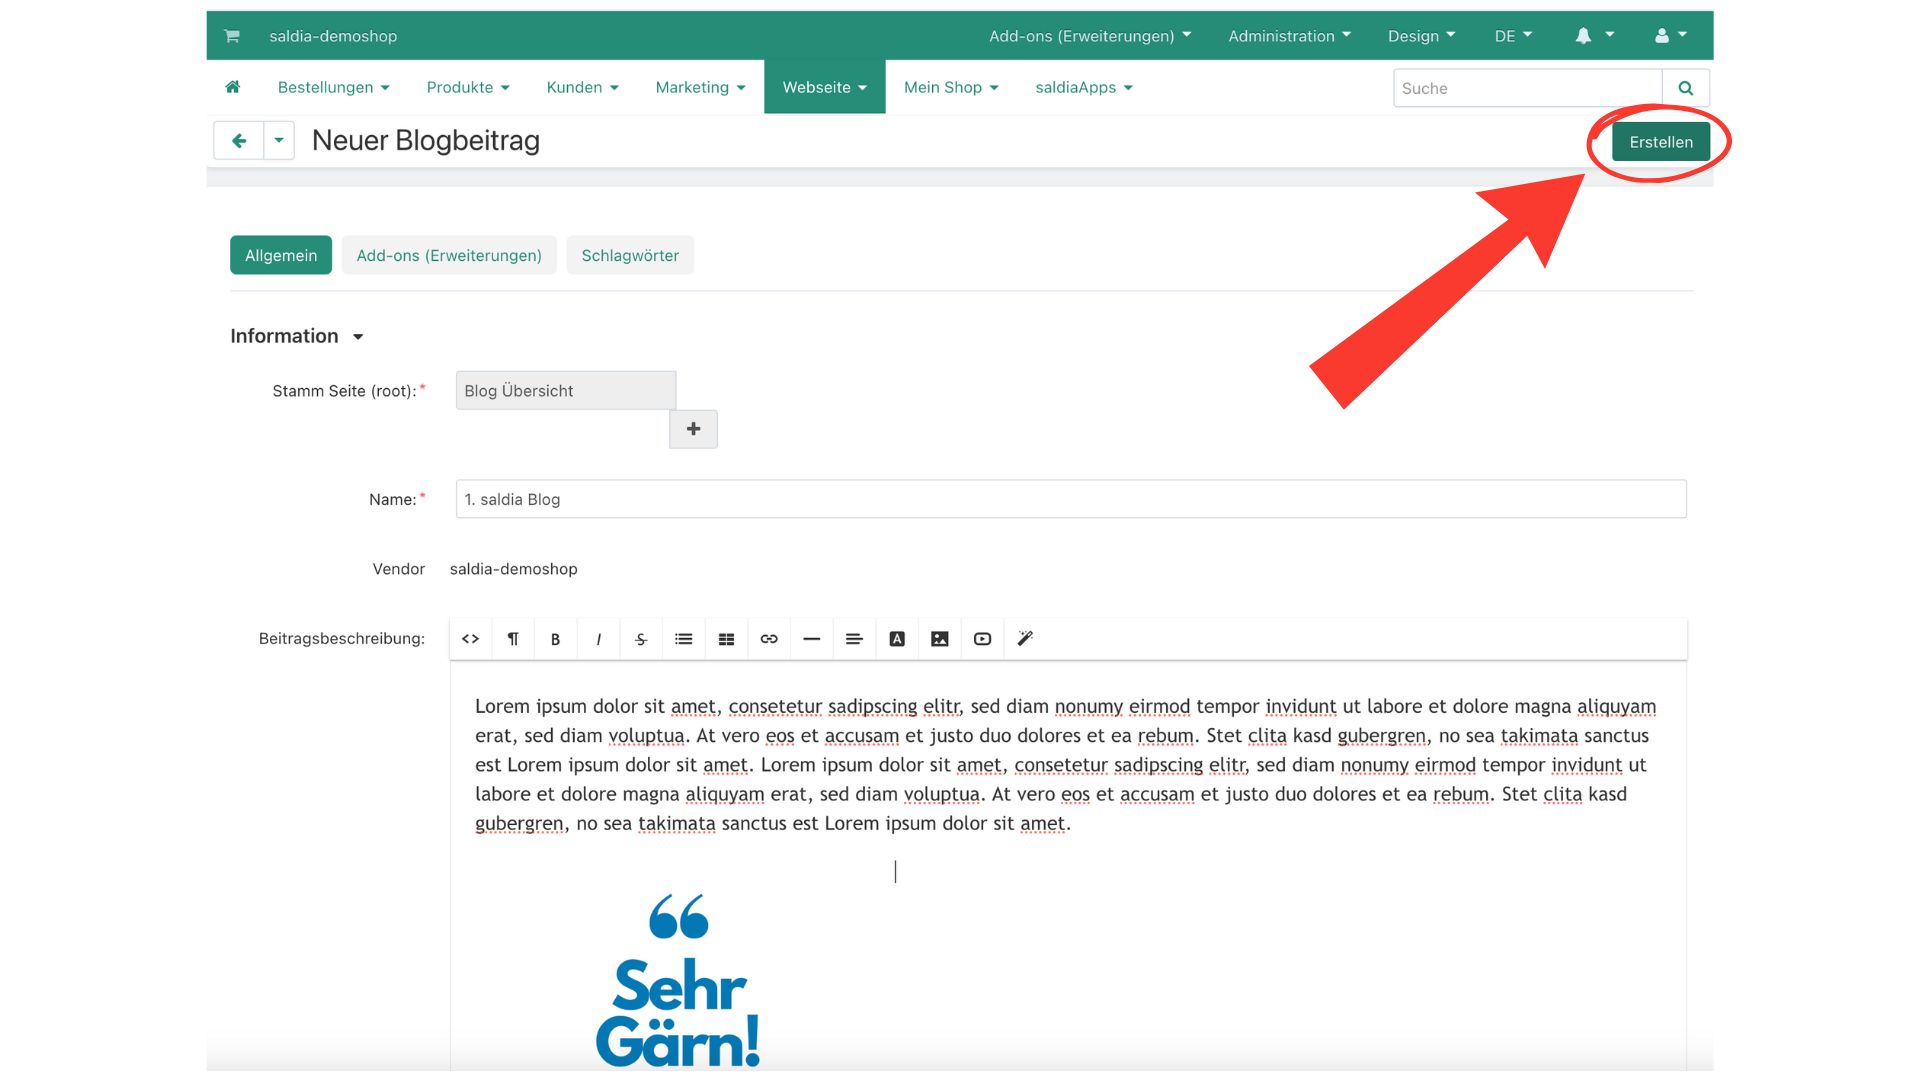
8. In order for your blog to be displayed in the shop, it must be linked in a menu. You can learn how to edit a menu in the post "Edit Menus".
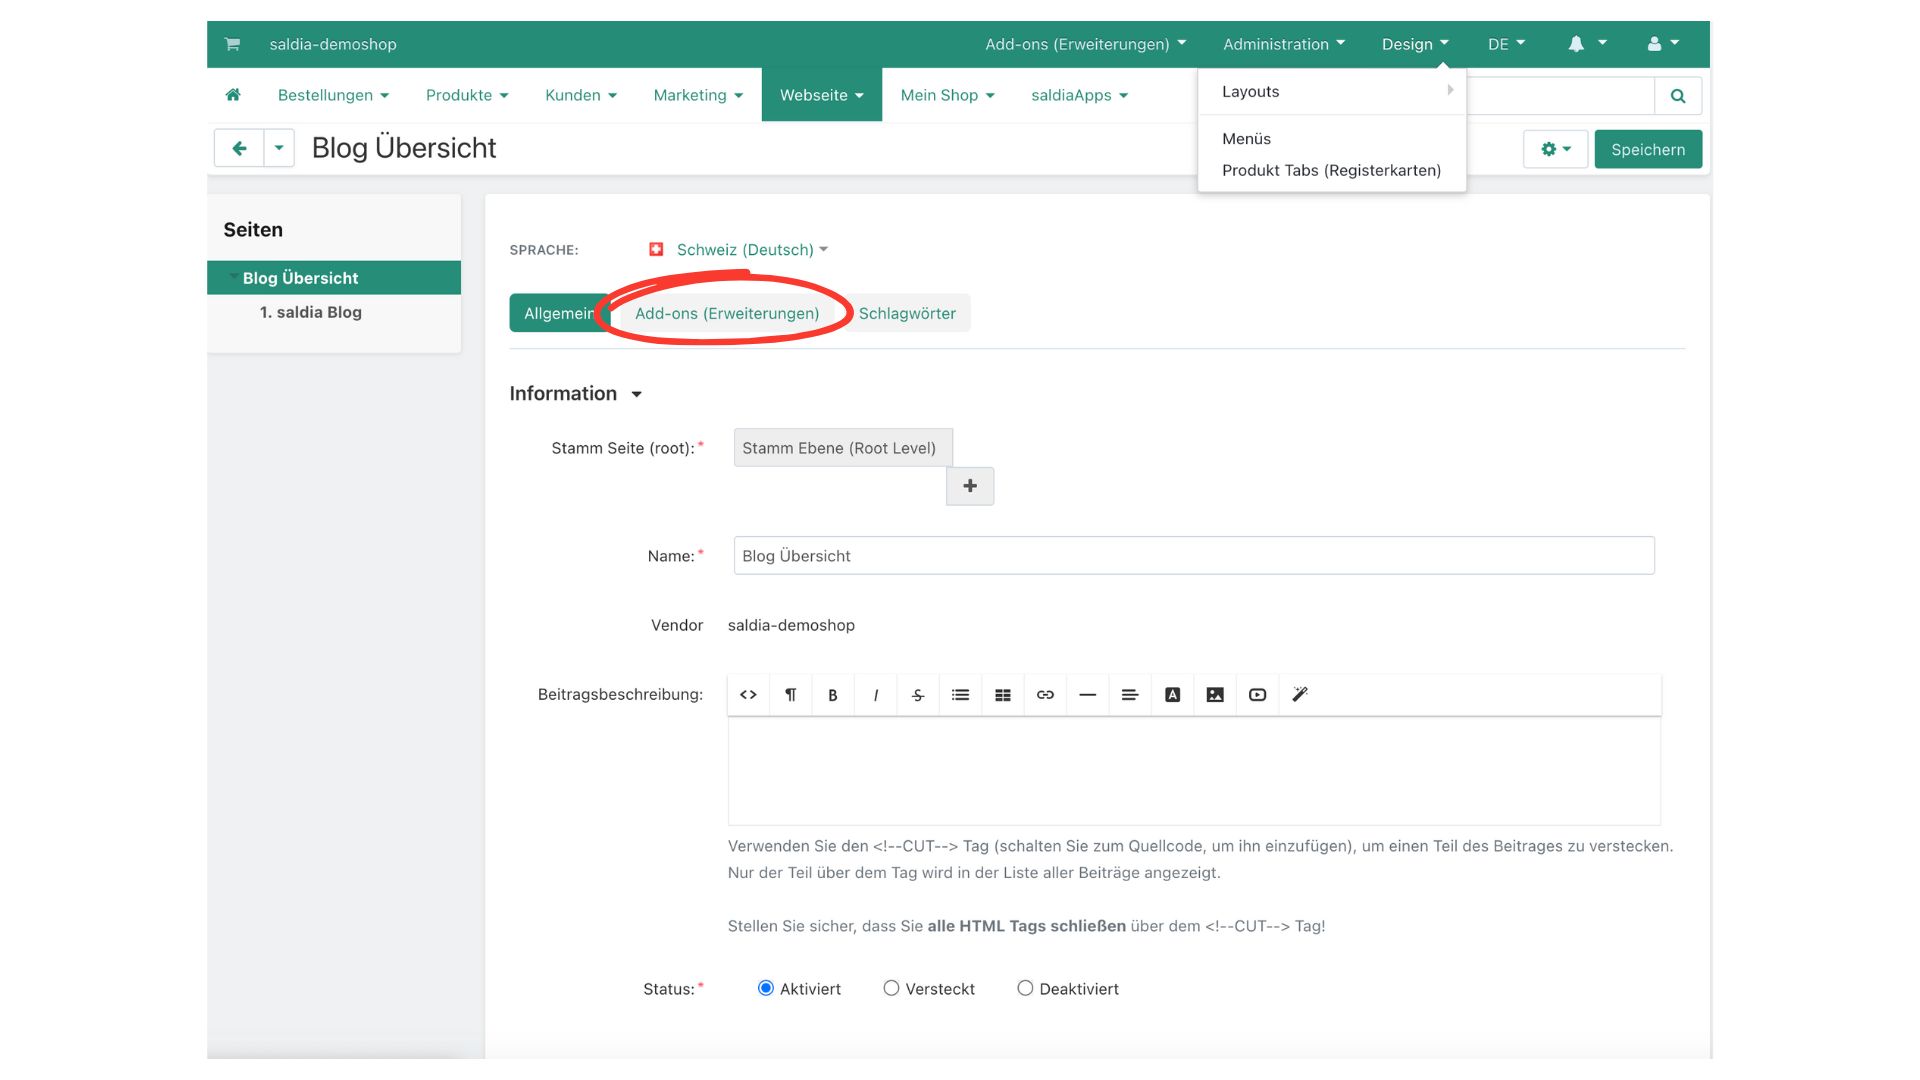
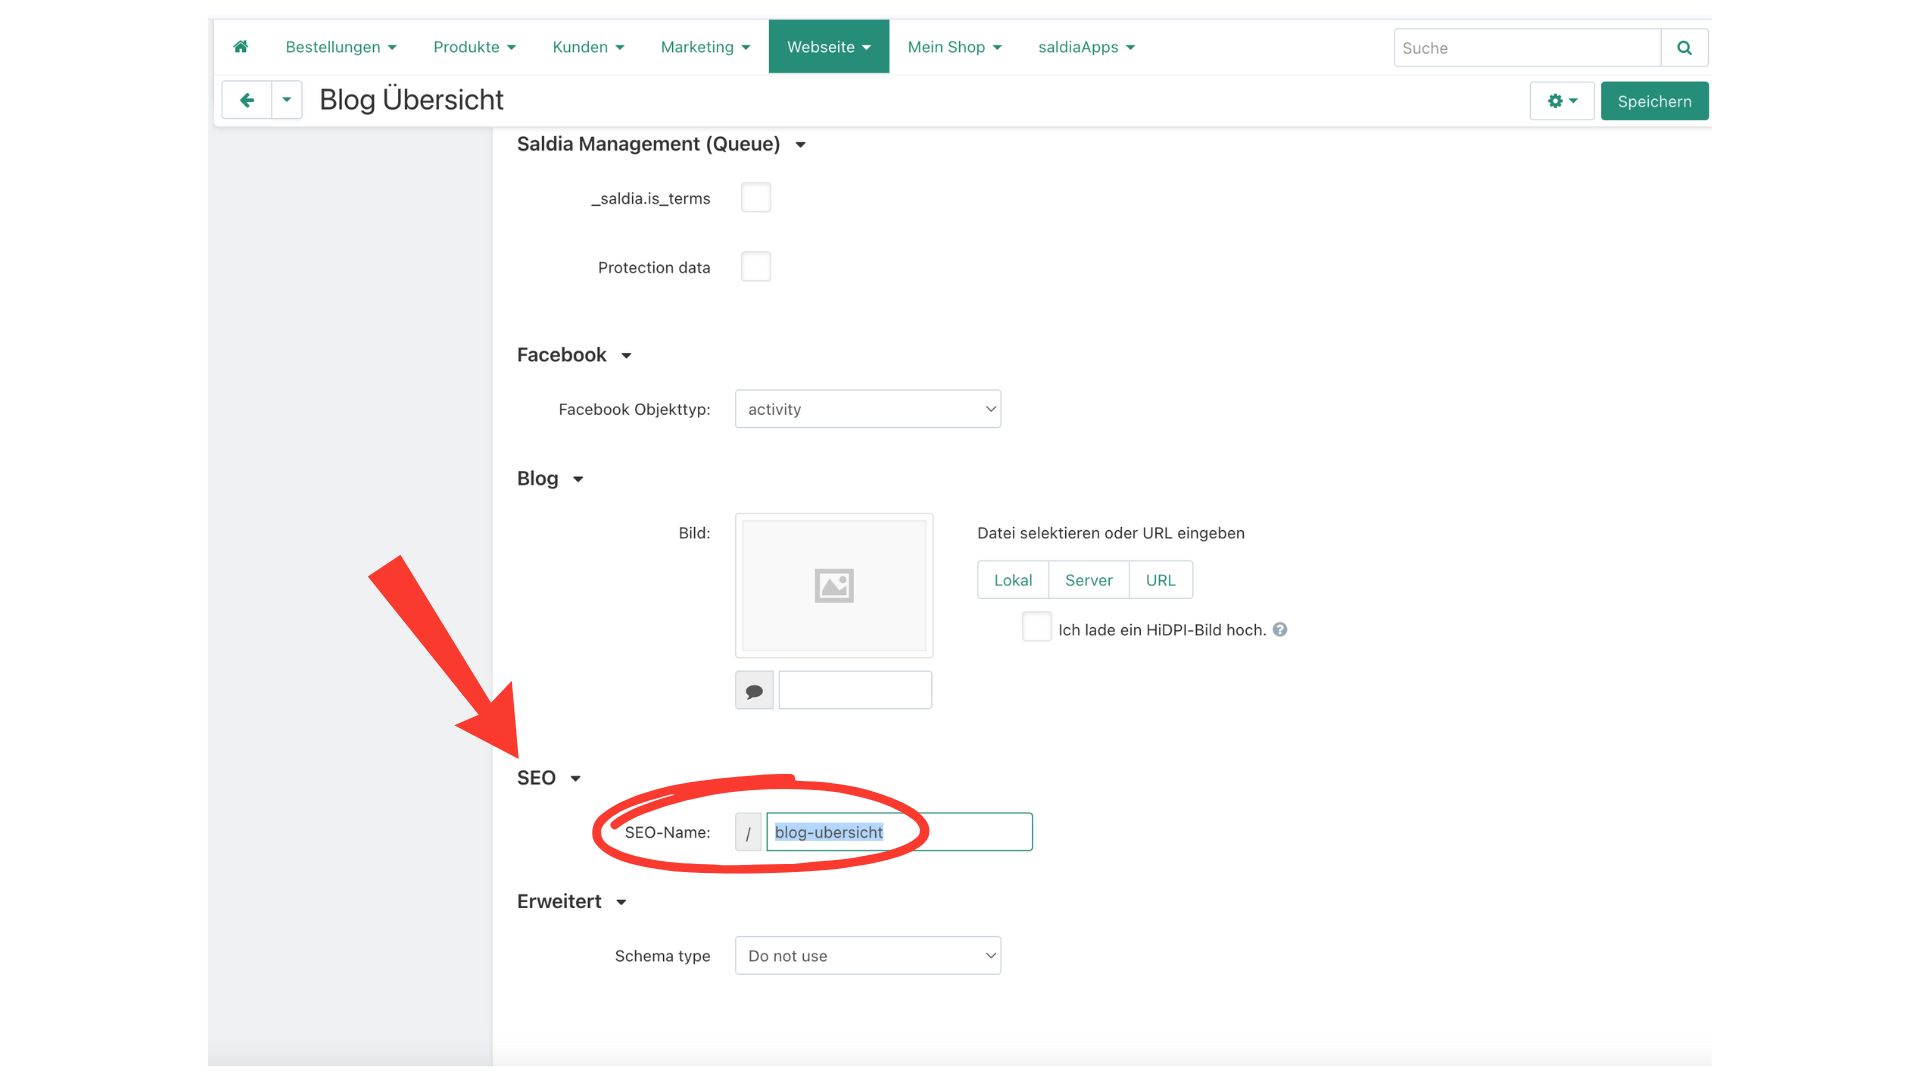
9. Since the main page is not yet linked to your shop, you have to build the URL yourself. To do this, open your main page entry and switch to the tab "Add-ons (extensions)". Copy the marked abbreviation under "SEO name".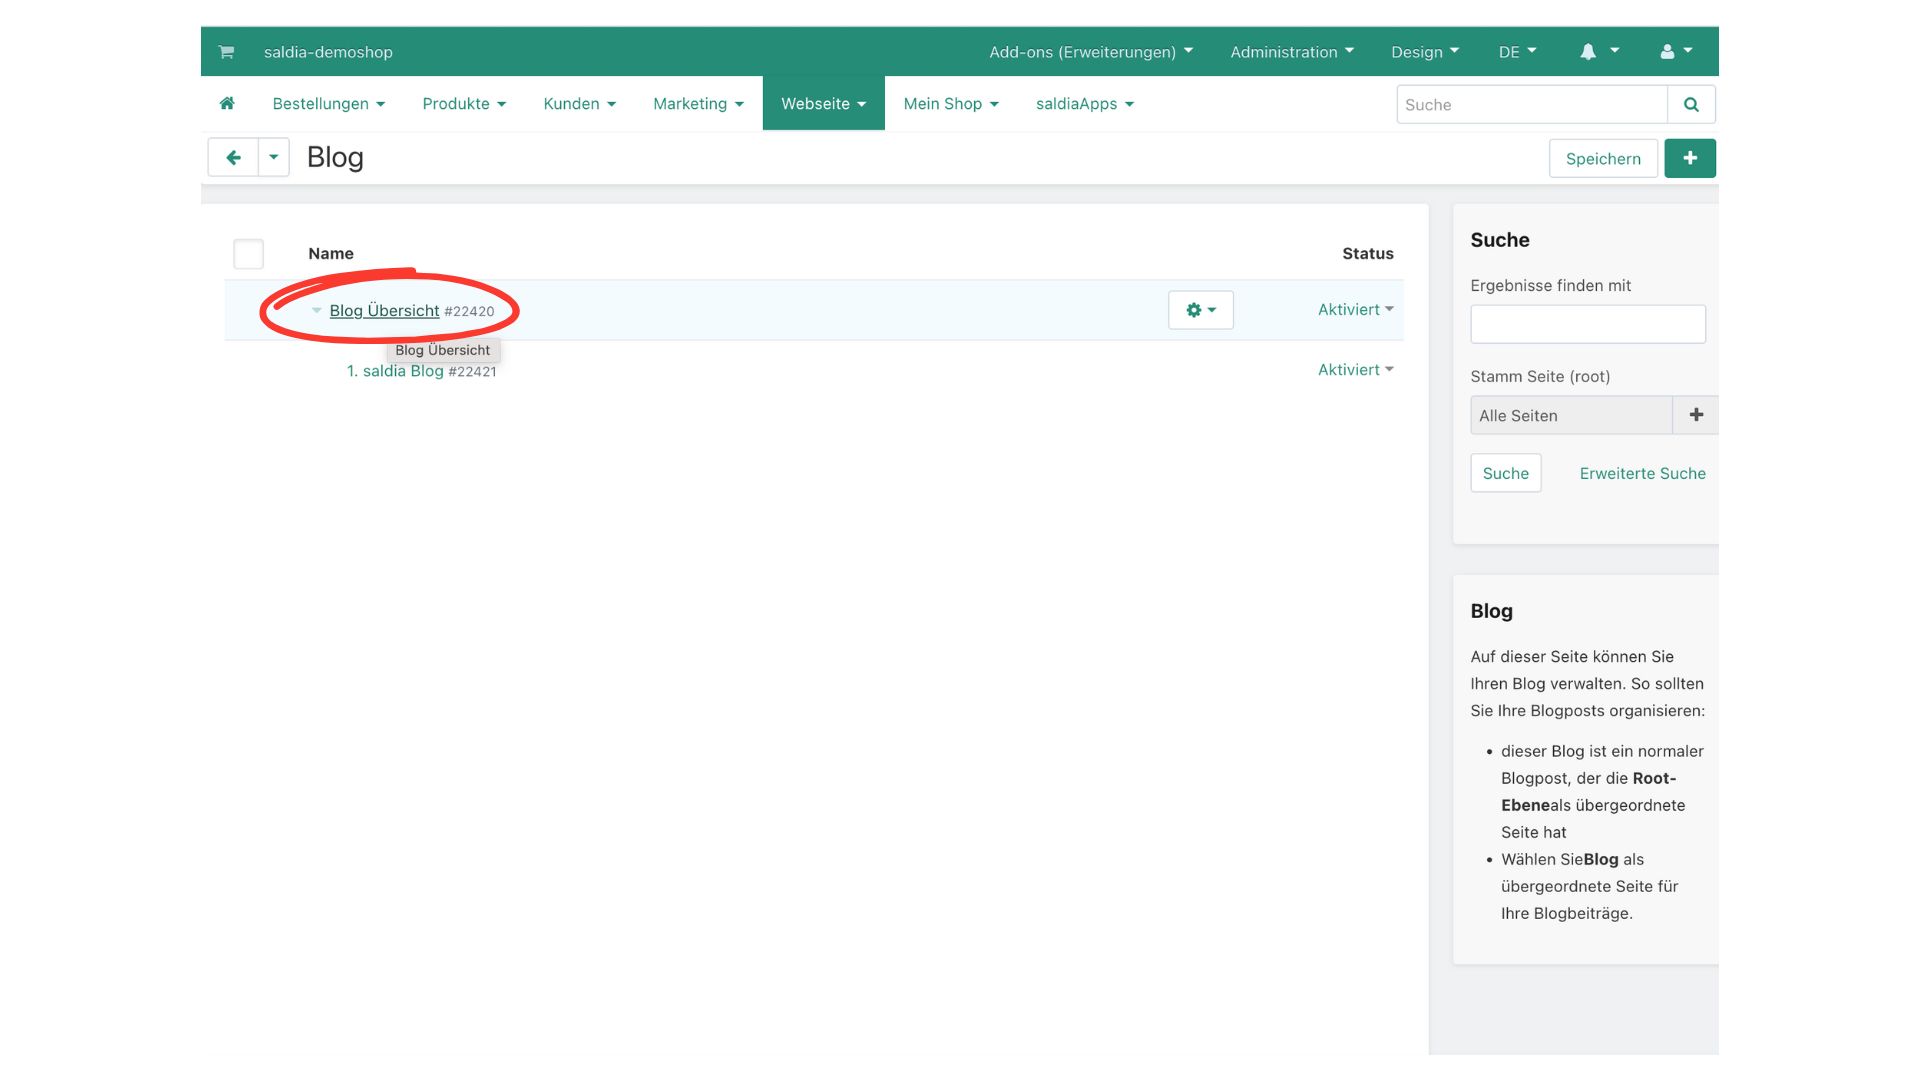
10. Open your shop via the shopping cart icon at the top left.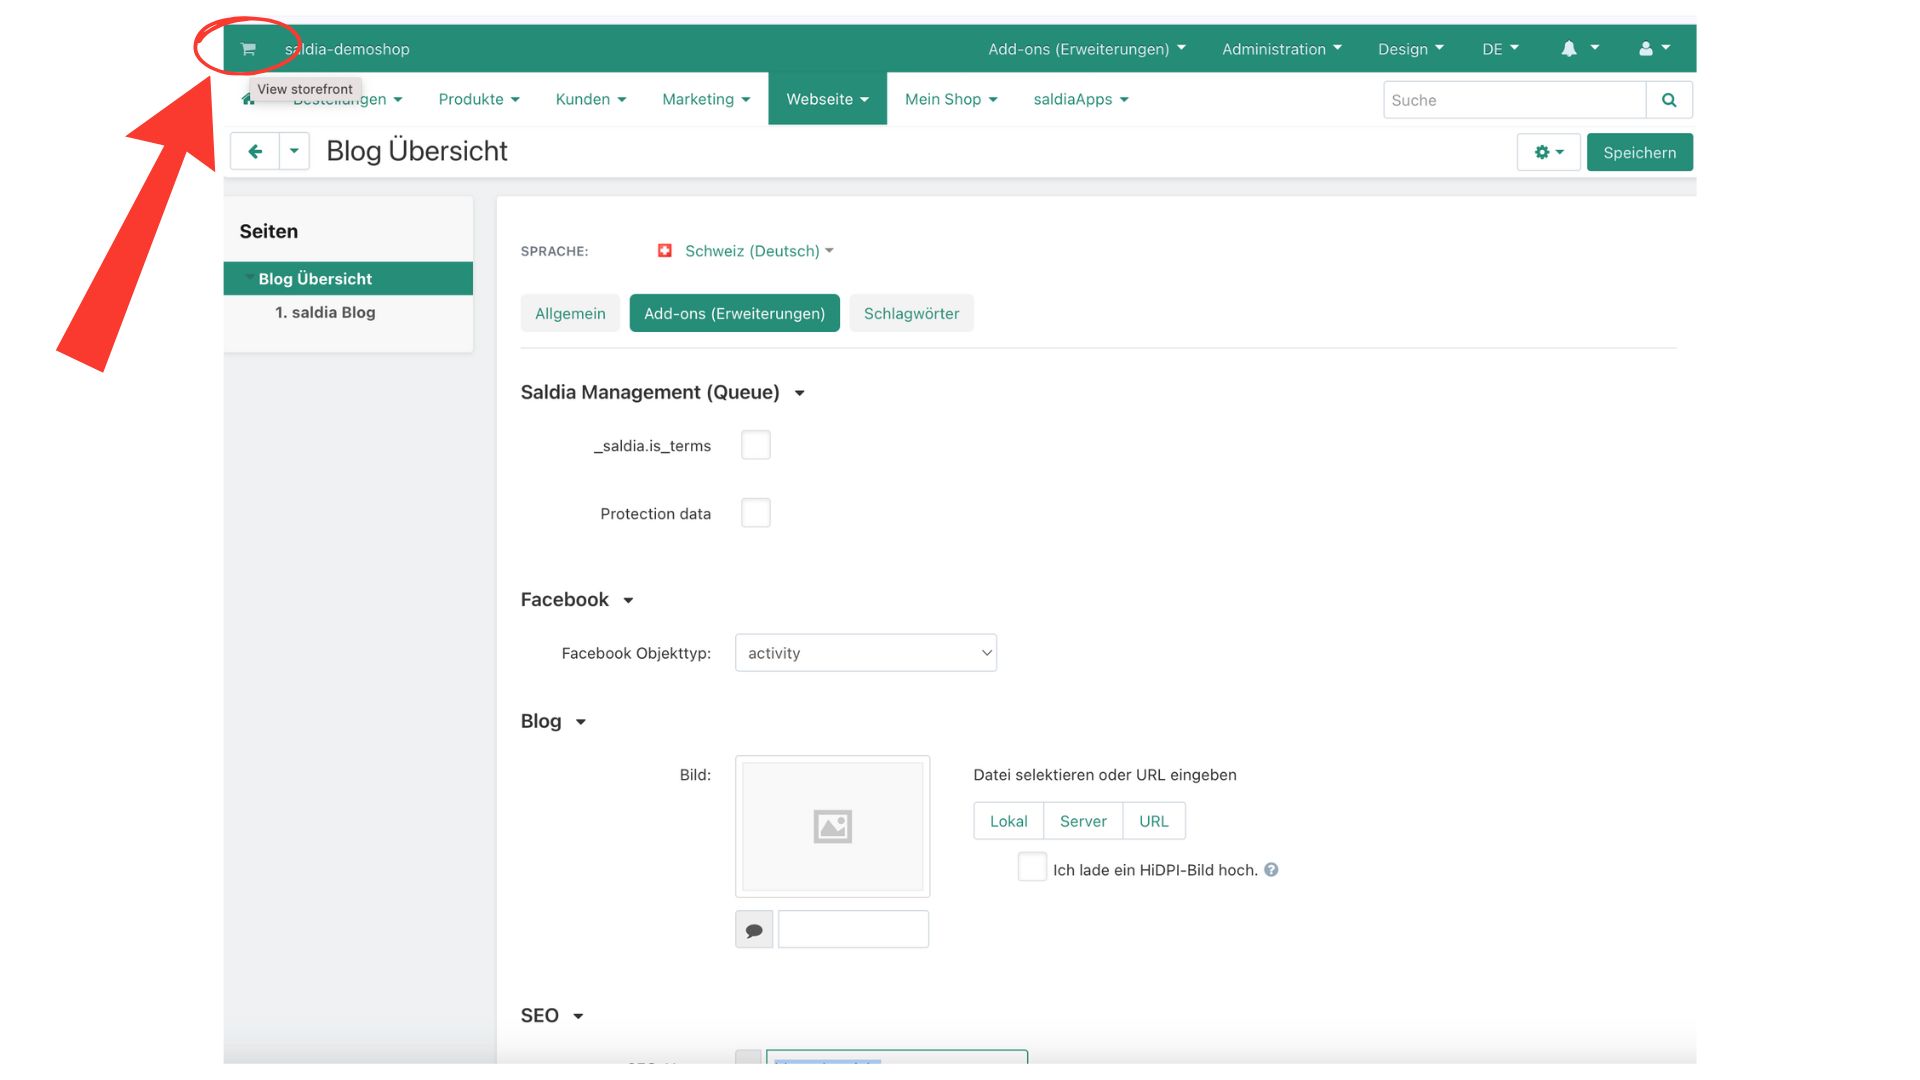
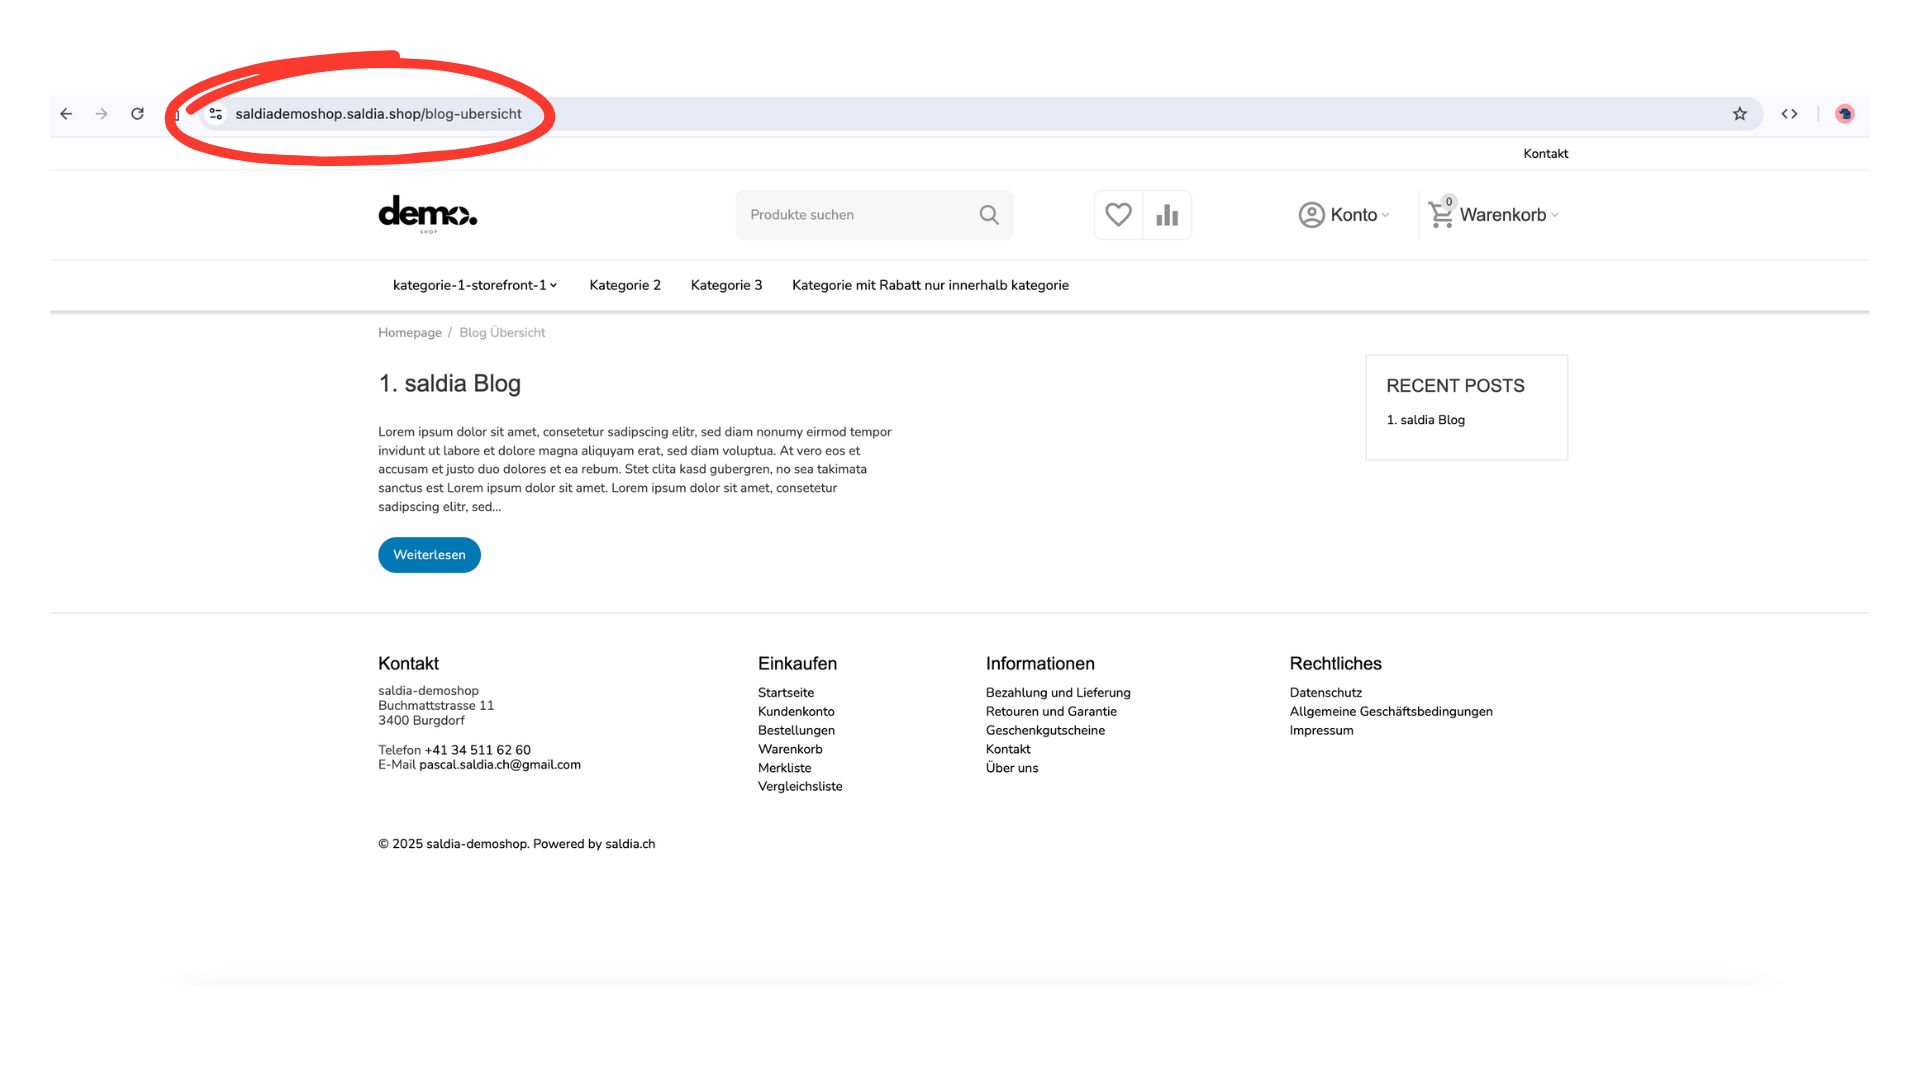
11. Open the URL bar. Paste the copied abbreviation and press the Enter key.
12. Nun befindest du dich auf deiner erstellten Blog-Seite. Kopiere die URL und füge diese in ein Menü ein, damit die Shopseite auch für alle deine Shopbesucher aufrufbar ist.
⬇️
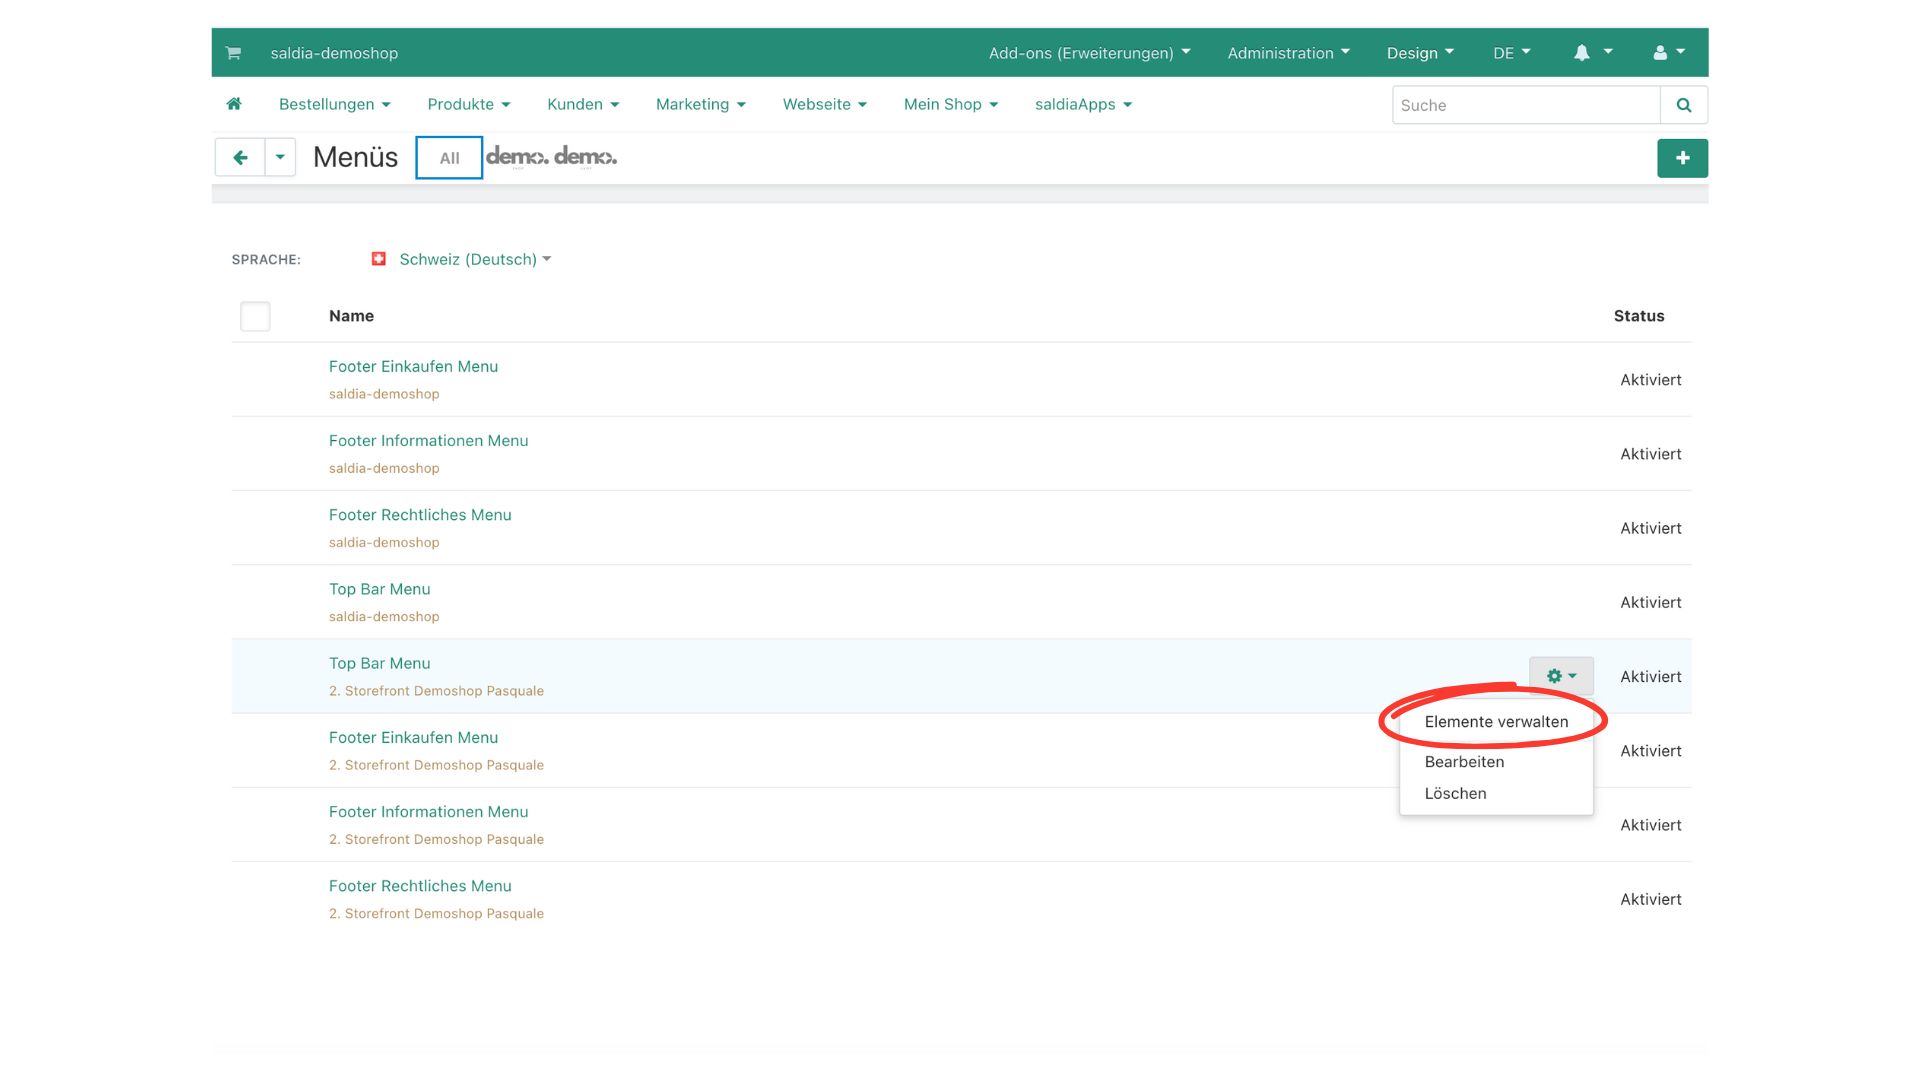
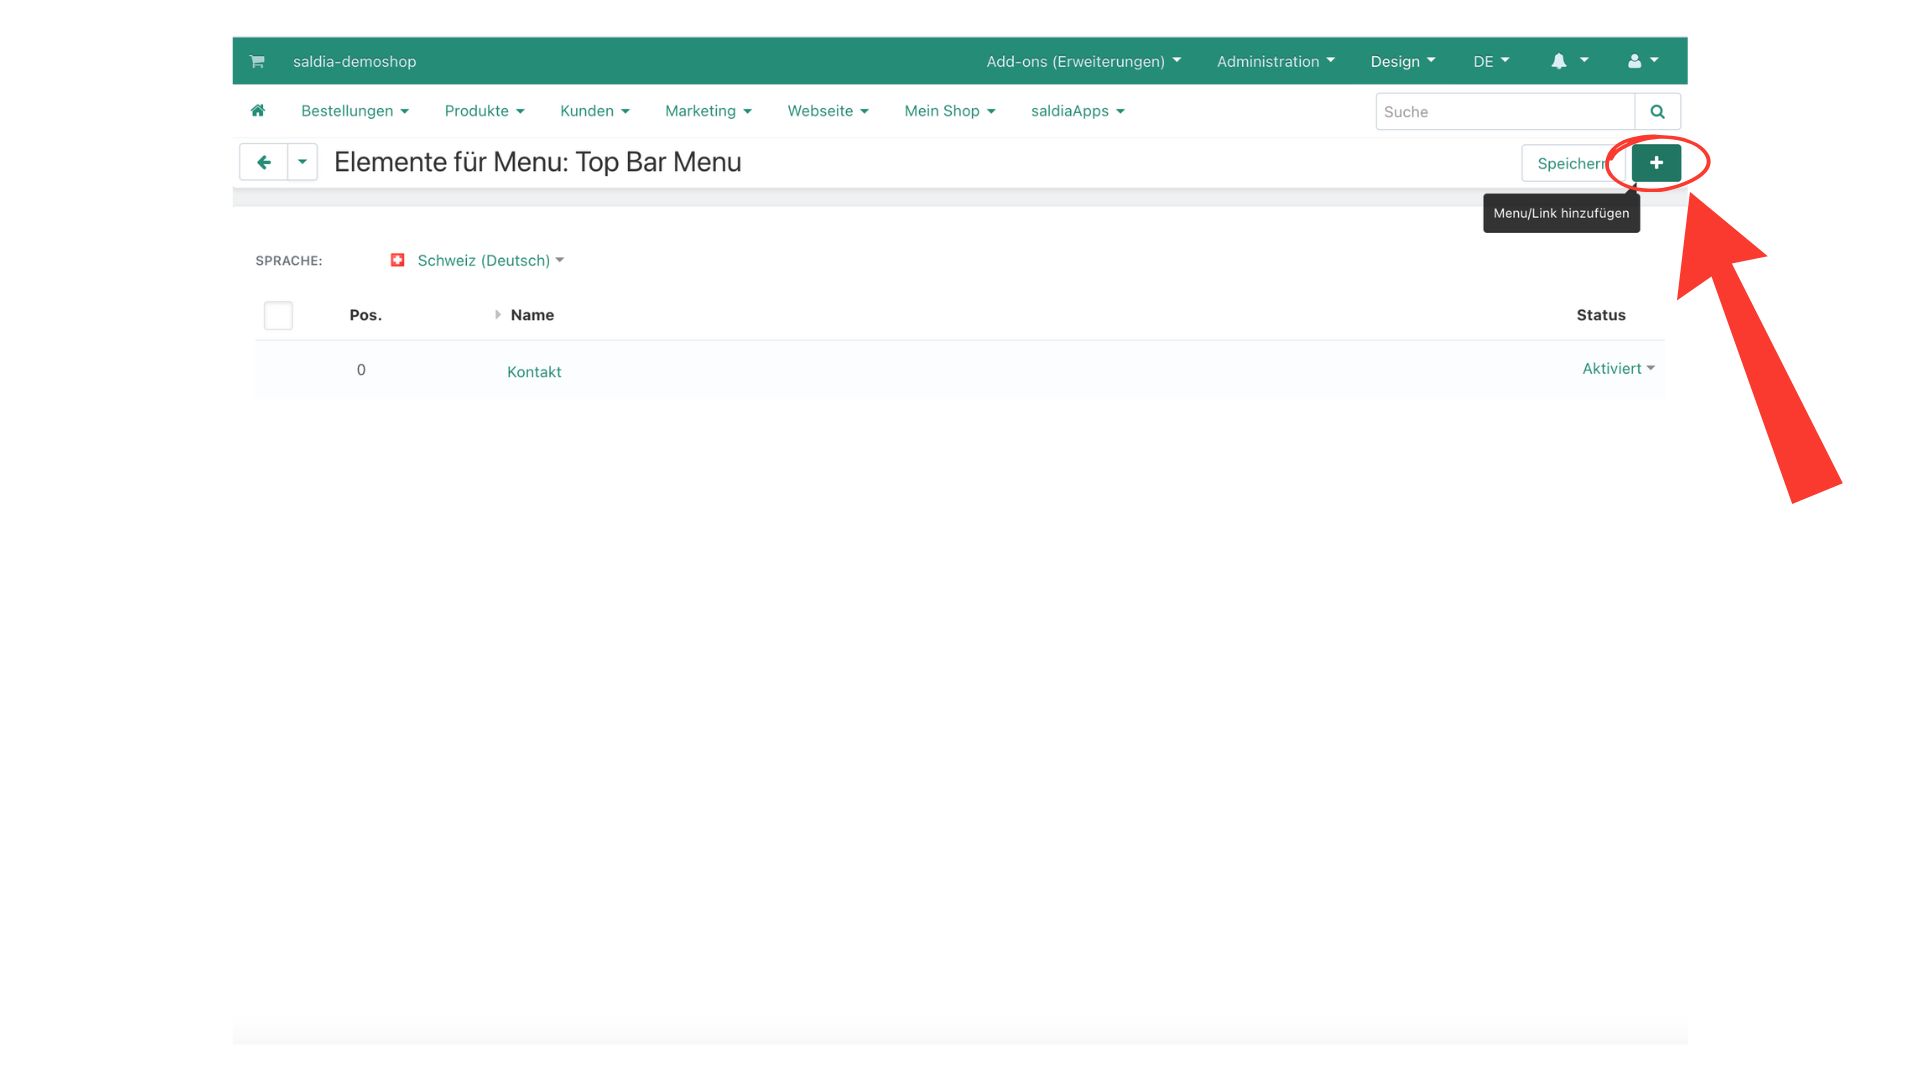
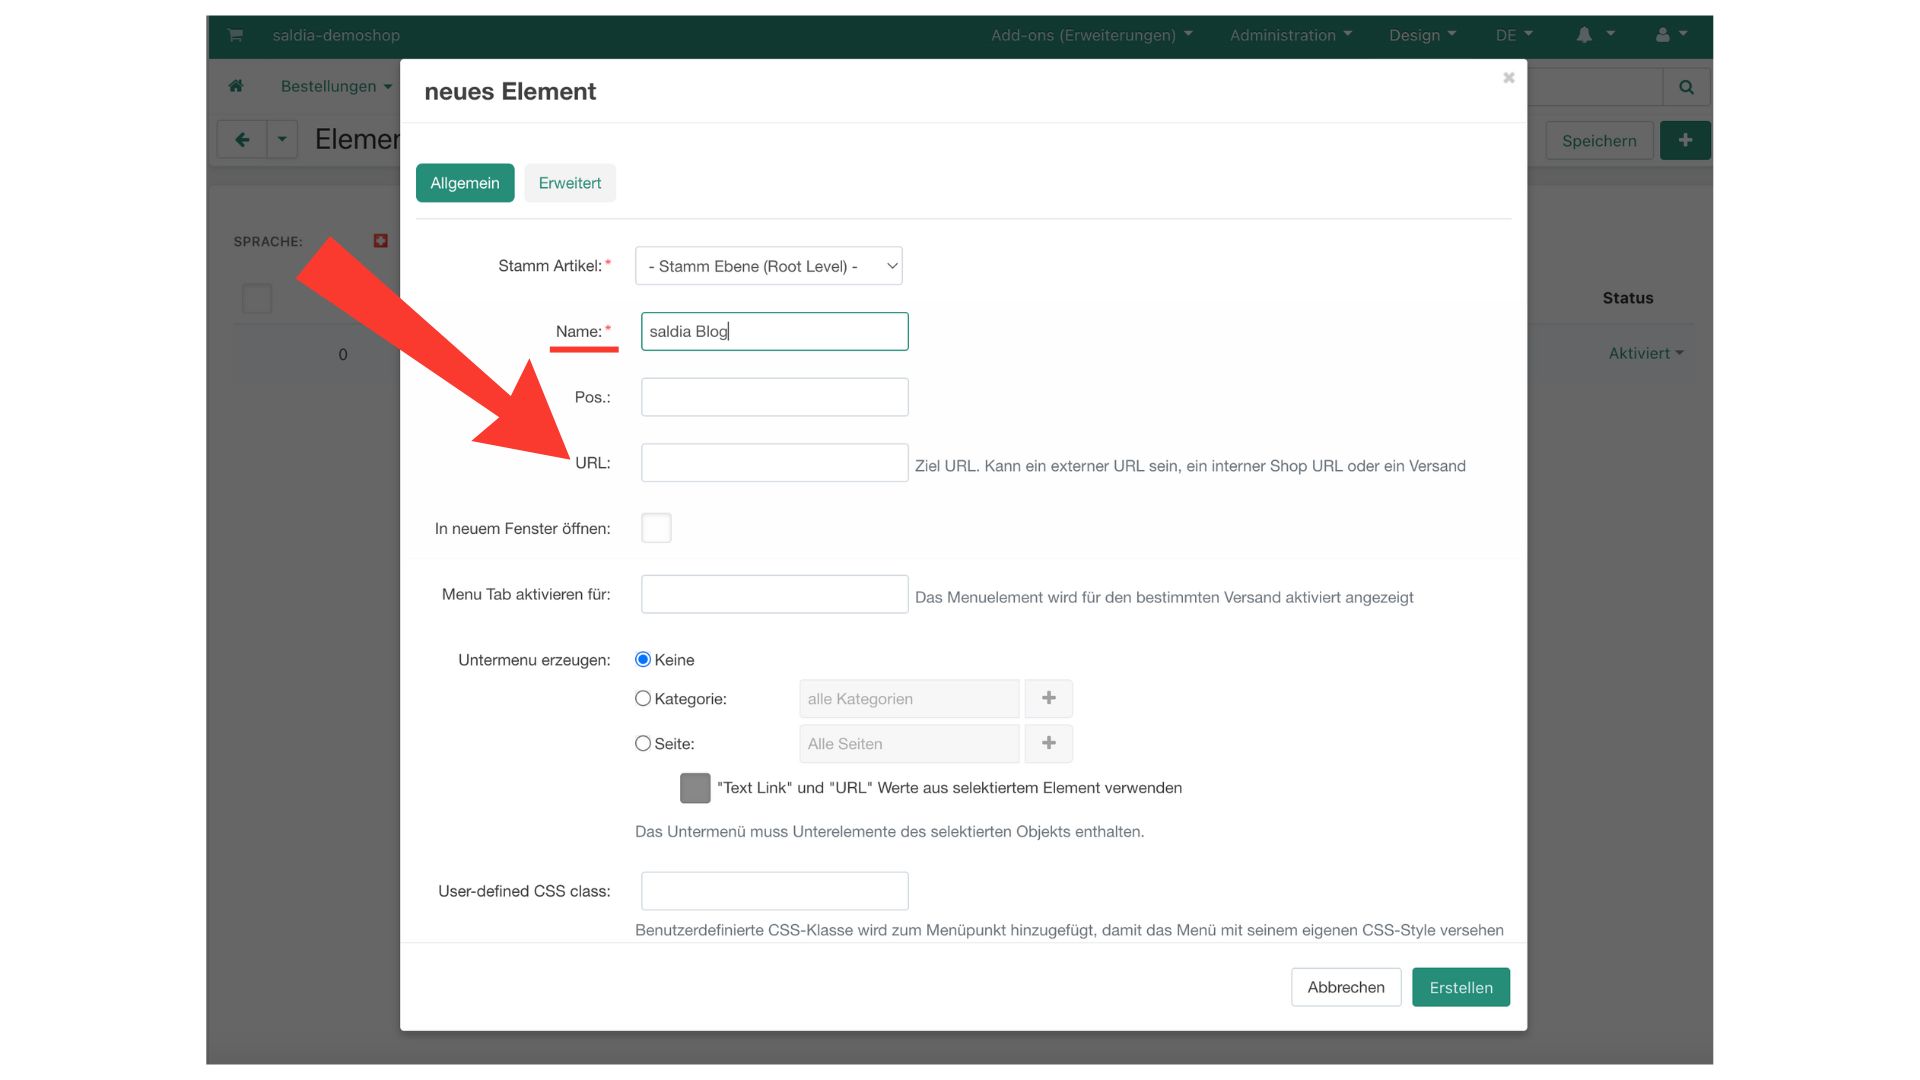
Wichtig! Sobald du den Link in einem Menü platziert und das Menü gespeichert hast, können alle deine Shopbesucher auf diese Blog-Seite zugreifen. Pass also auf, dass du keine Inhalte veröffentlichst, hinter welchen du nicht stehst.
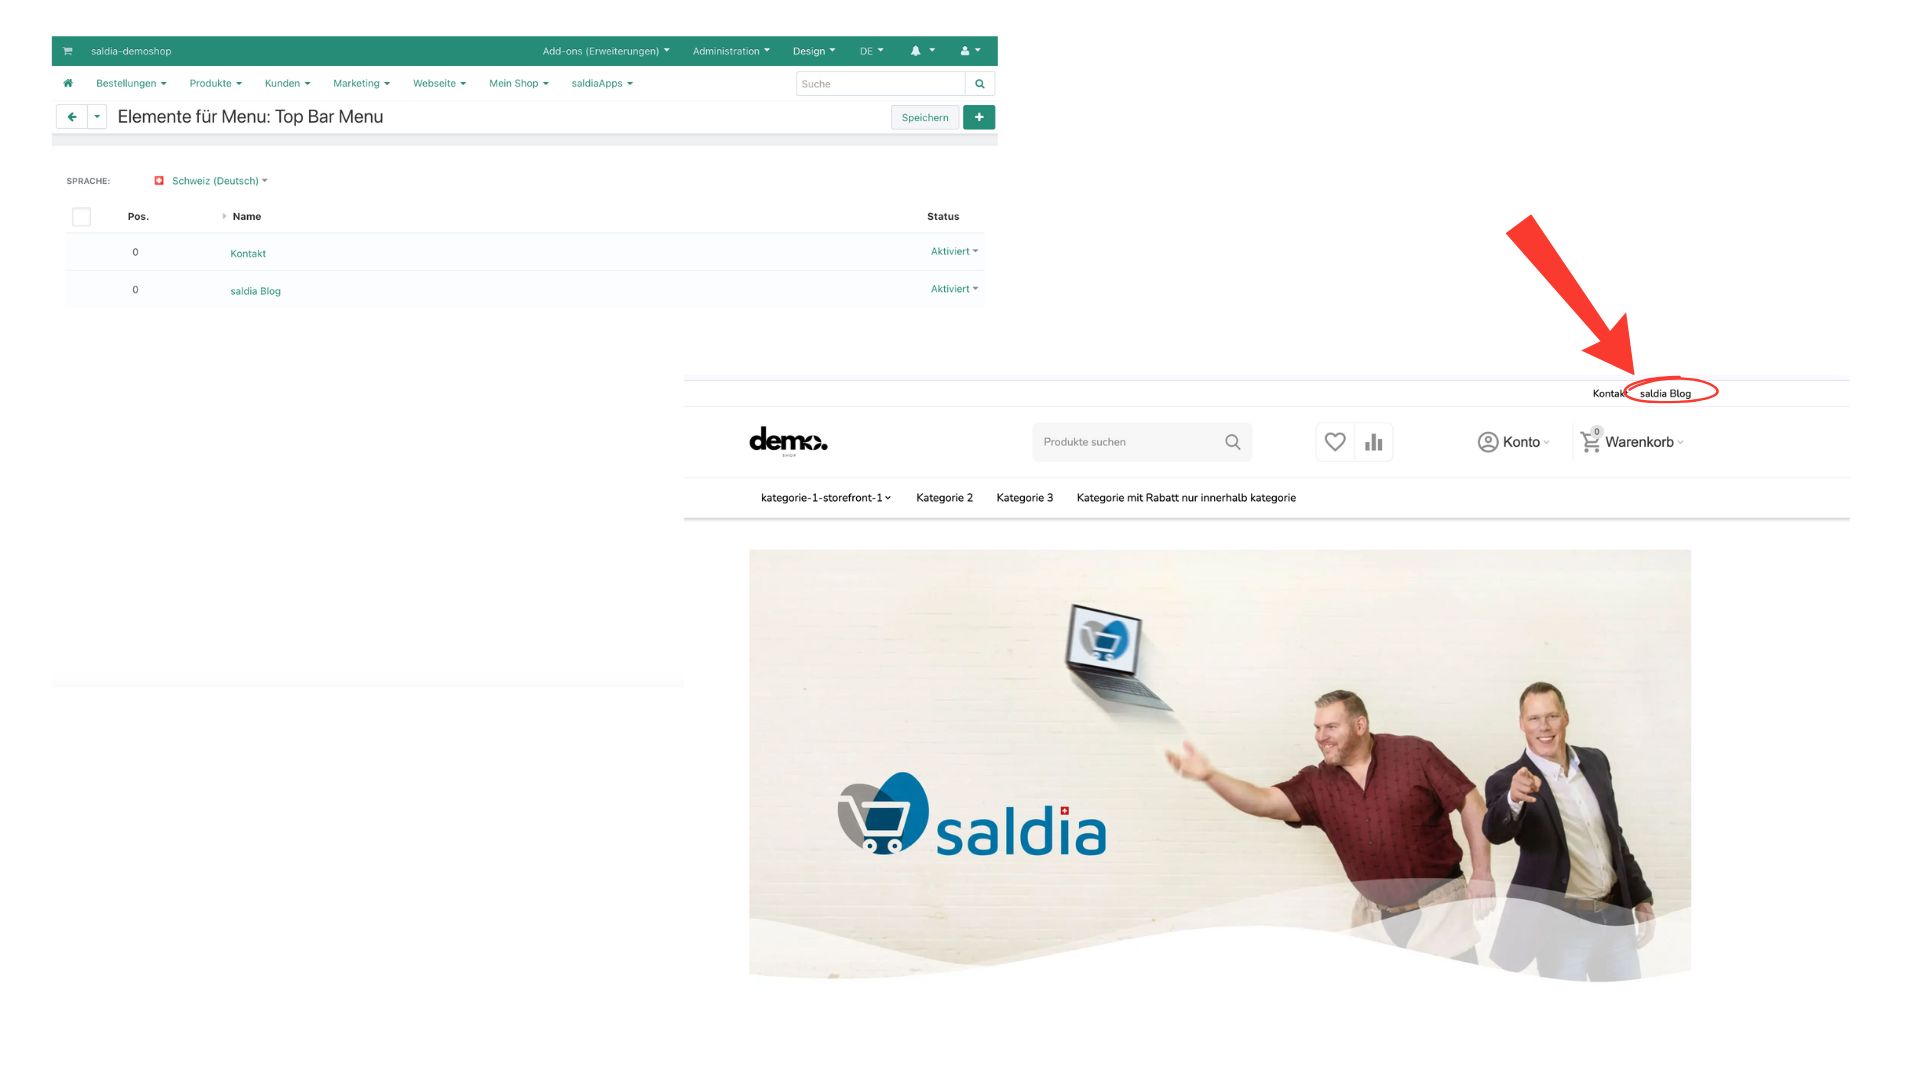
You must then assign all other blog posts to your main post so that they are accessible to customers.