Wichtig
Damit saldiaPay in deinem Shop funktioniert, benötigst du ein aktives saldiaPay Abonnement. Hier findest du die entsprechende Dokumentation: saldiaShop & saldiaPay Abonnement auswählen, anpassen und Rechnungshistorie überprüfen
Melde dich mit dem Login, welches dir zugesendet wurde auf login.saldiapay.ch an. 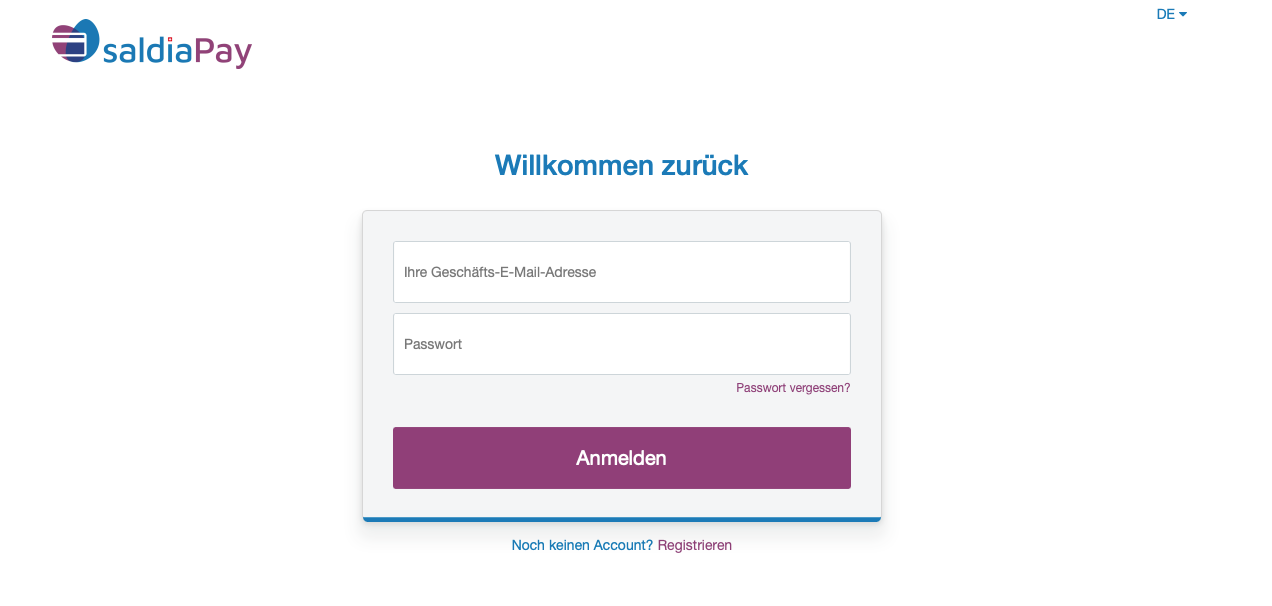
Dashboard: Im Dashboard hast du einen Überblick über verschiedene Punkte von saldiaPay: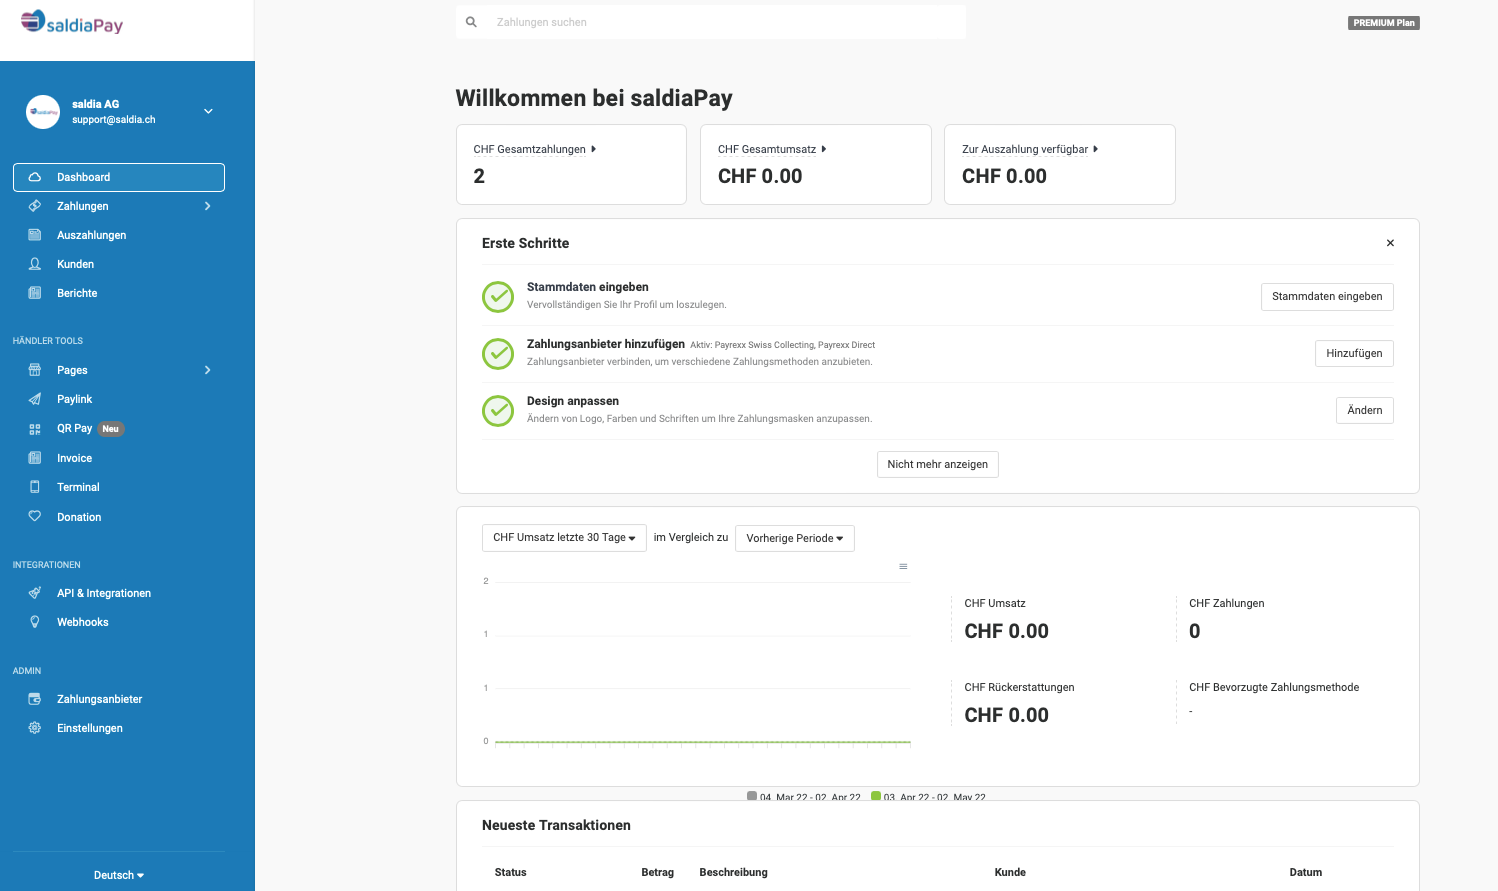
Transaktionen: Im Menupunkt Transaktionen, siehst du die verschiedenen Zahlungen die über deinen Shop getätigt wurden. Du siehts hier auch den Status der Zahlung: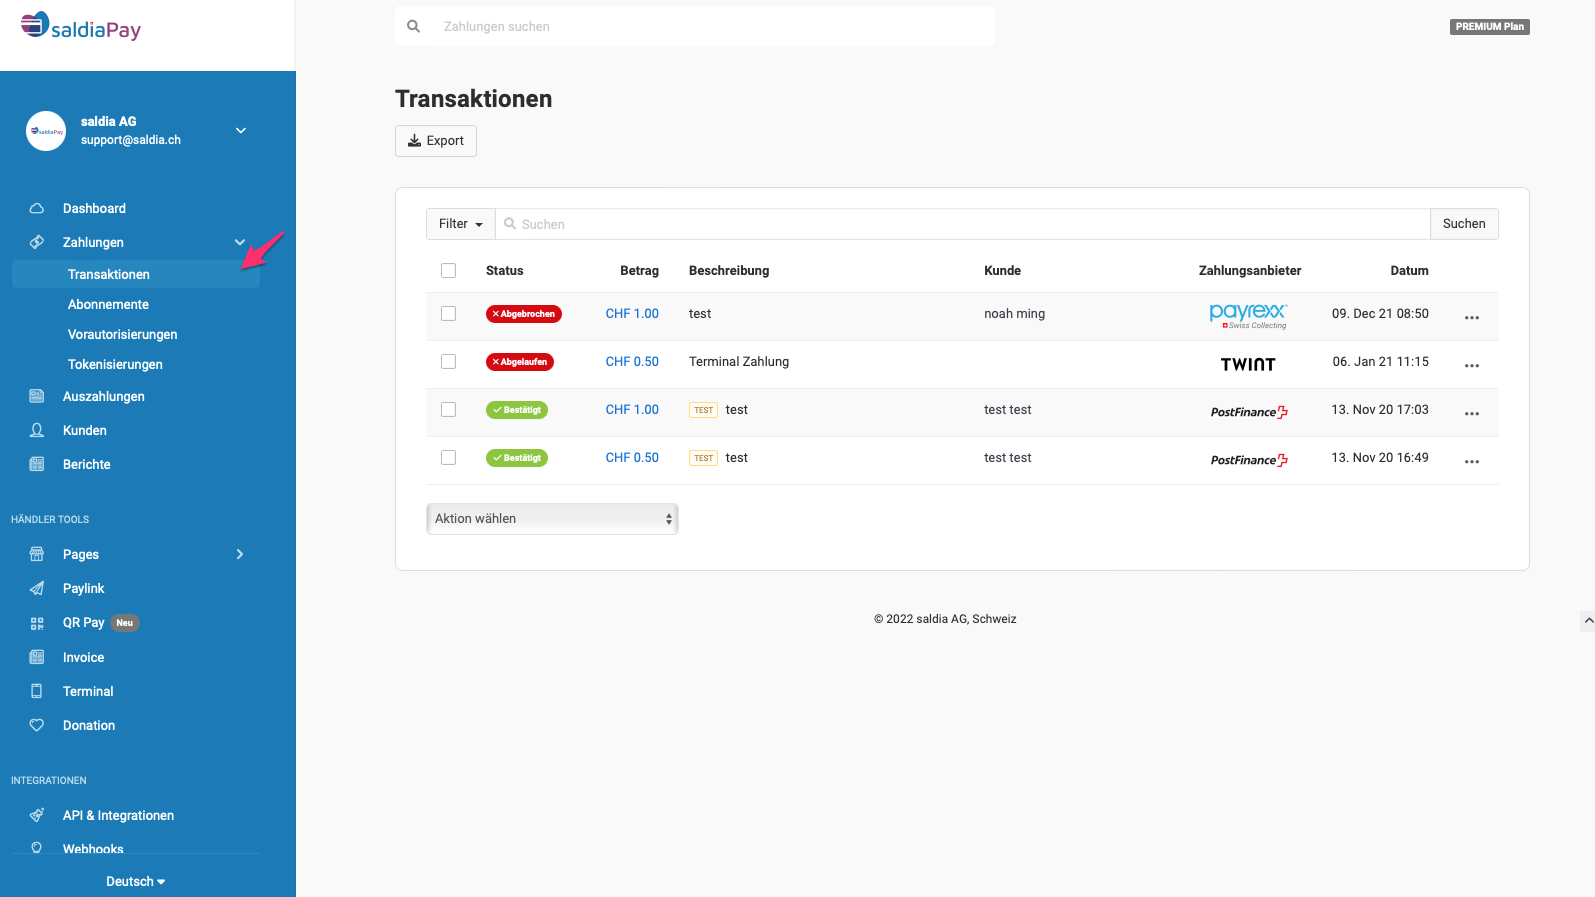
Wenn du auf eine der Transaktionen klickst, hast du einen genaueren Überblick über diese Transaktion und kannst die Zahlung auch Rückerstatten. Du siehst hier Einzelheiten über den Kunden und die Bezahlung: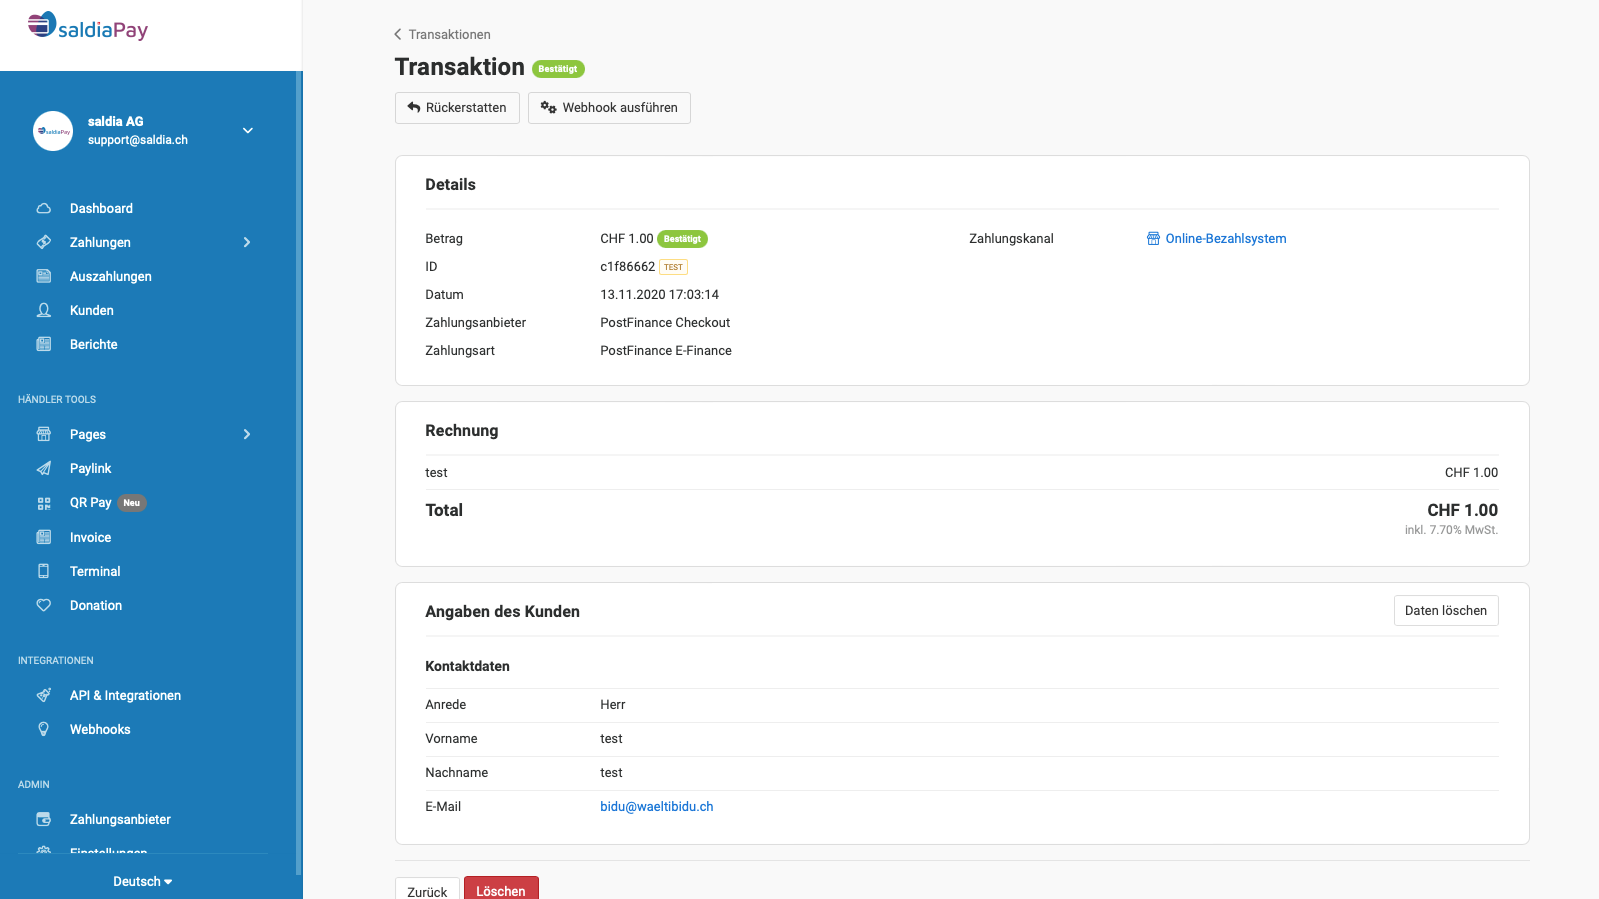
Auszahlungen: Du hast hier einen Überblick über deine Auszahlungen von saldiaPay. Das Feld "Aktuelles Guthaben" beinhaltet Gelder, welche über Payrexx Direct / Swiss Collecting abgewickelt und noch nicht ausbezahlt wurden. Wenn du Auszahlungen erhalten hast, kannst du hier die Details deiner Auszahlung anzeigen und exportieren. Um die Angaben zum Bankkonto und die Häufigkeit der Auszahlung anzupassen klicke auf den Button "Einstellungen anpassen":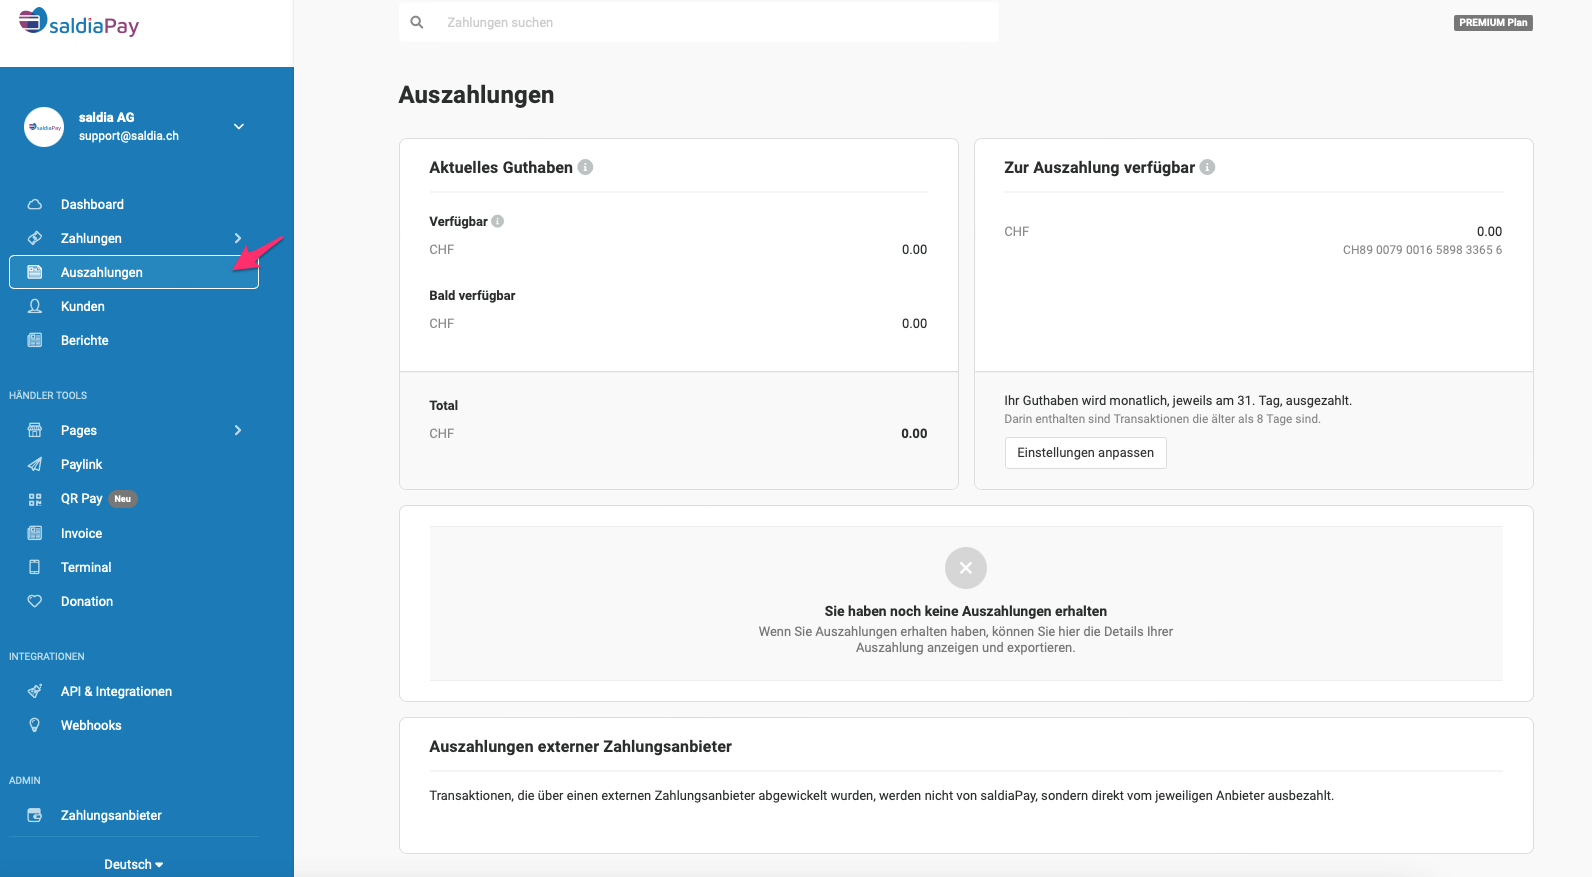
Hier kannst du das Konto angeben auf welches die Auszahlung erfolgen soll.
Falls du die Häufigkeit der Auszahlungen verändern möchtest, wende dich bitte direkt an Payrexx über [email protected]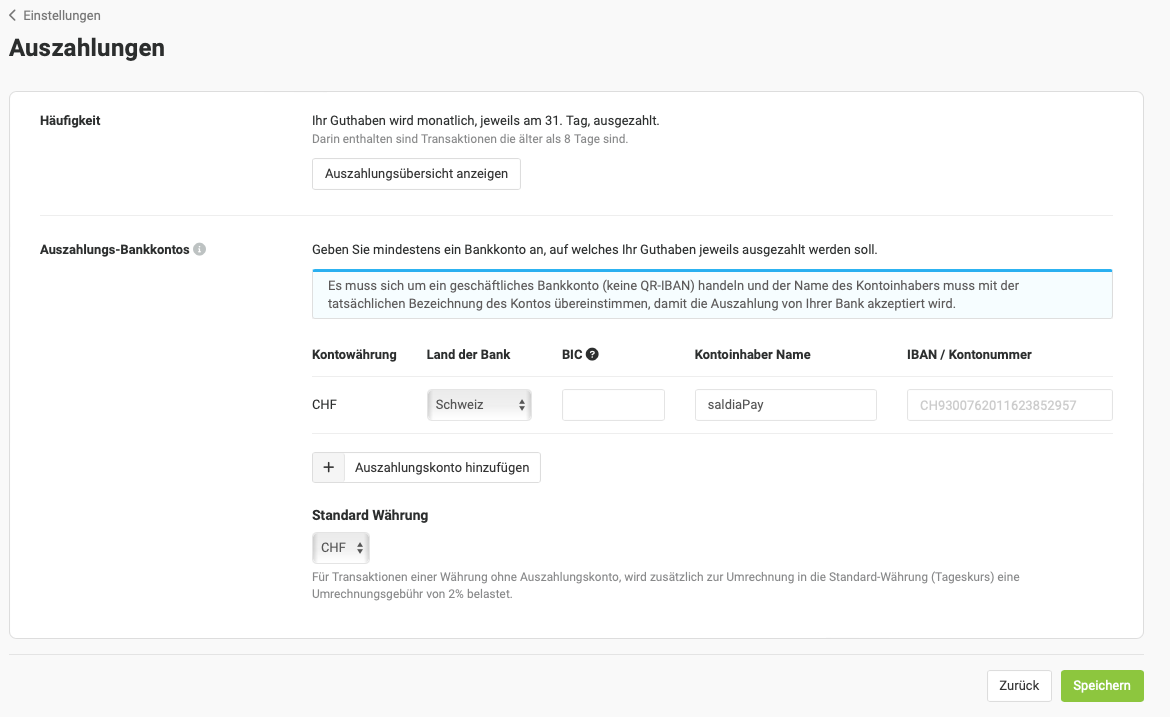
Kunden: Du siehst hier alle Kunden die über deinen Shop eine Zahlung abgewickelt haben. Du kannst auch eine Liste der Kunden als csv Exportieren:
Wenn du bei einem Kunden auf das "Schreibsymbol" klickst, kannst du Informationen zum Kunden ergänzen oder bearbeiten: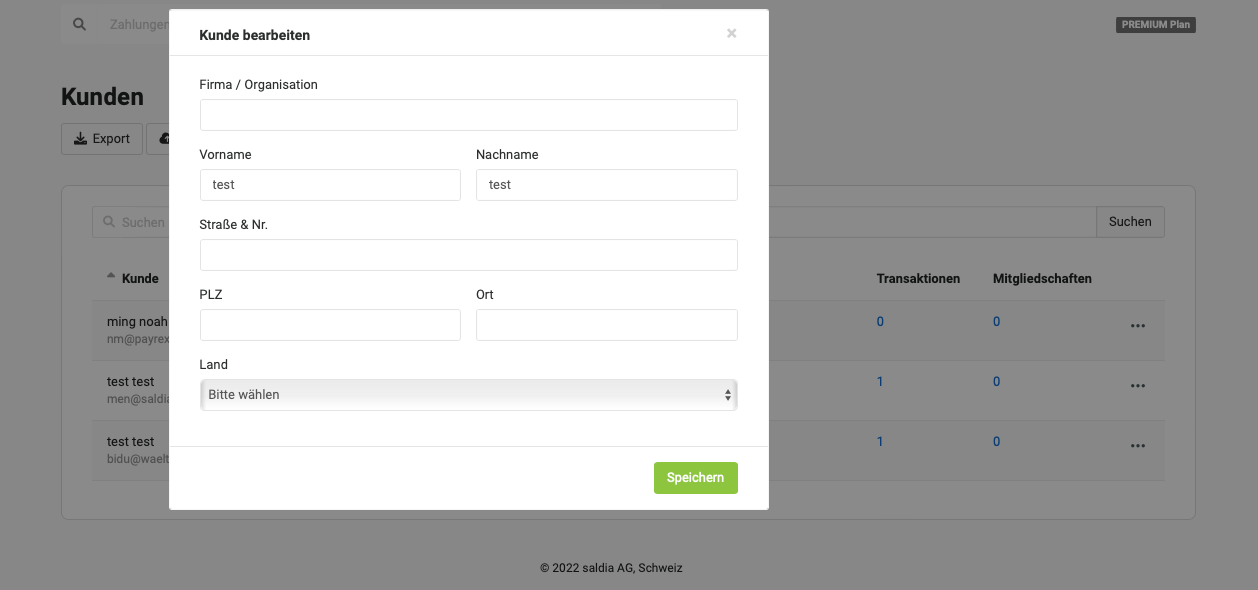
Berichte: Im Menupunkt "Berichte" hast du einen Überblick über die Transaktionen die in deinem Shop abgewickelt wurden. Du kannst nach Jahr, Monat oder Woche filtern, ausserdem kannst du zwischen Anzahl Transaktionen und Transaktionsvolumen wählen. Du kannst Transaktionsberichte als CSV Datei exportieren: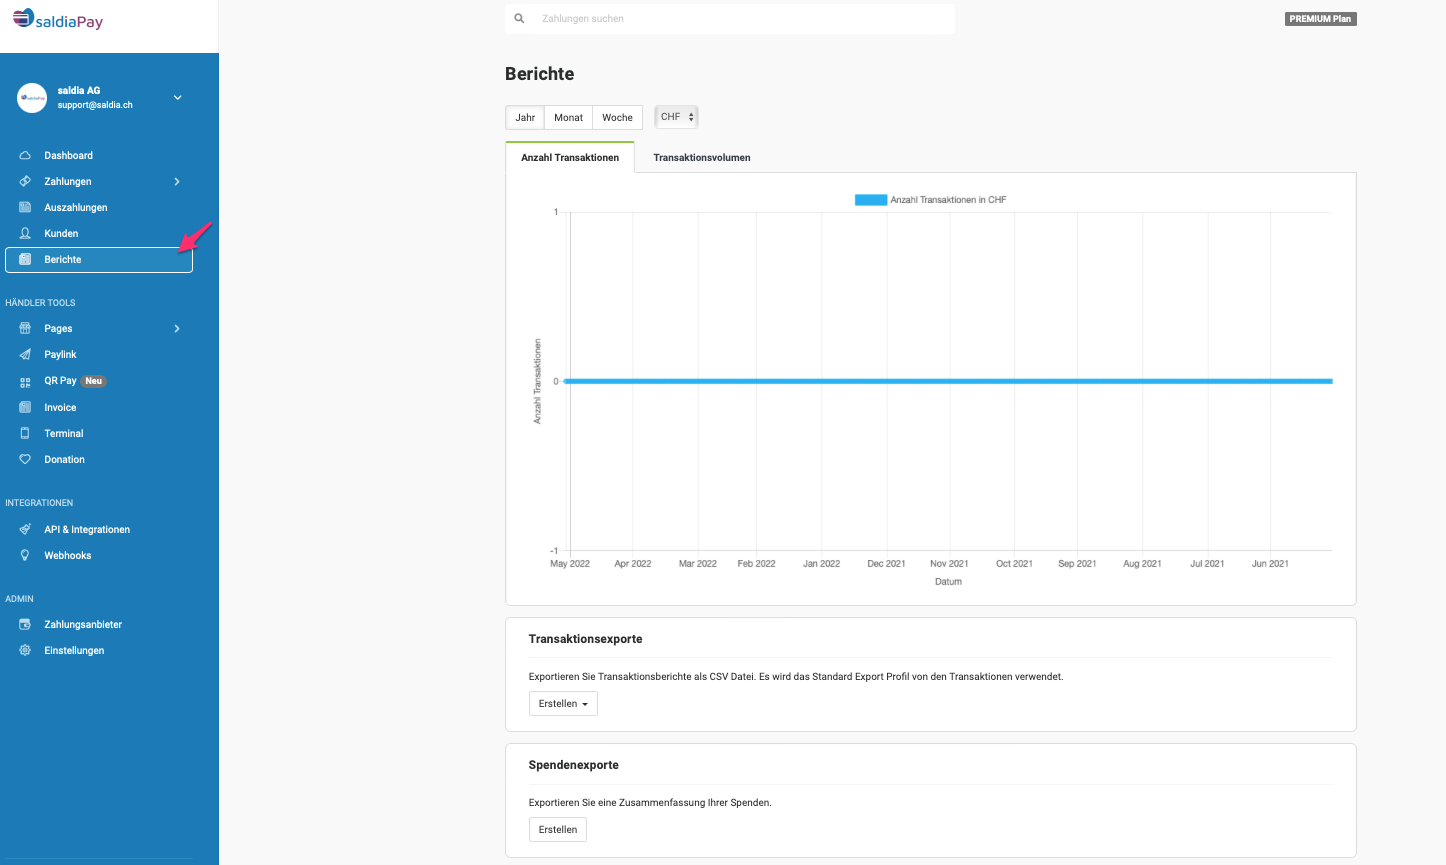
Du hast hier eine Übersicht über die Gebühren der verschiedenen Anbieter: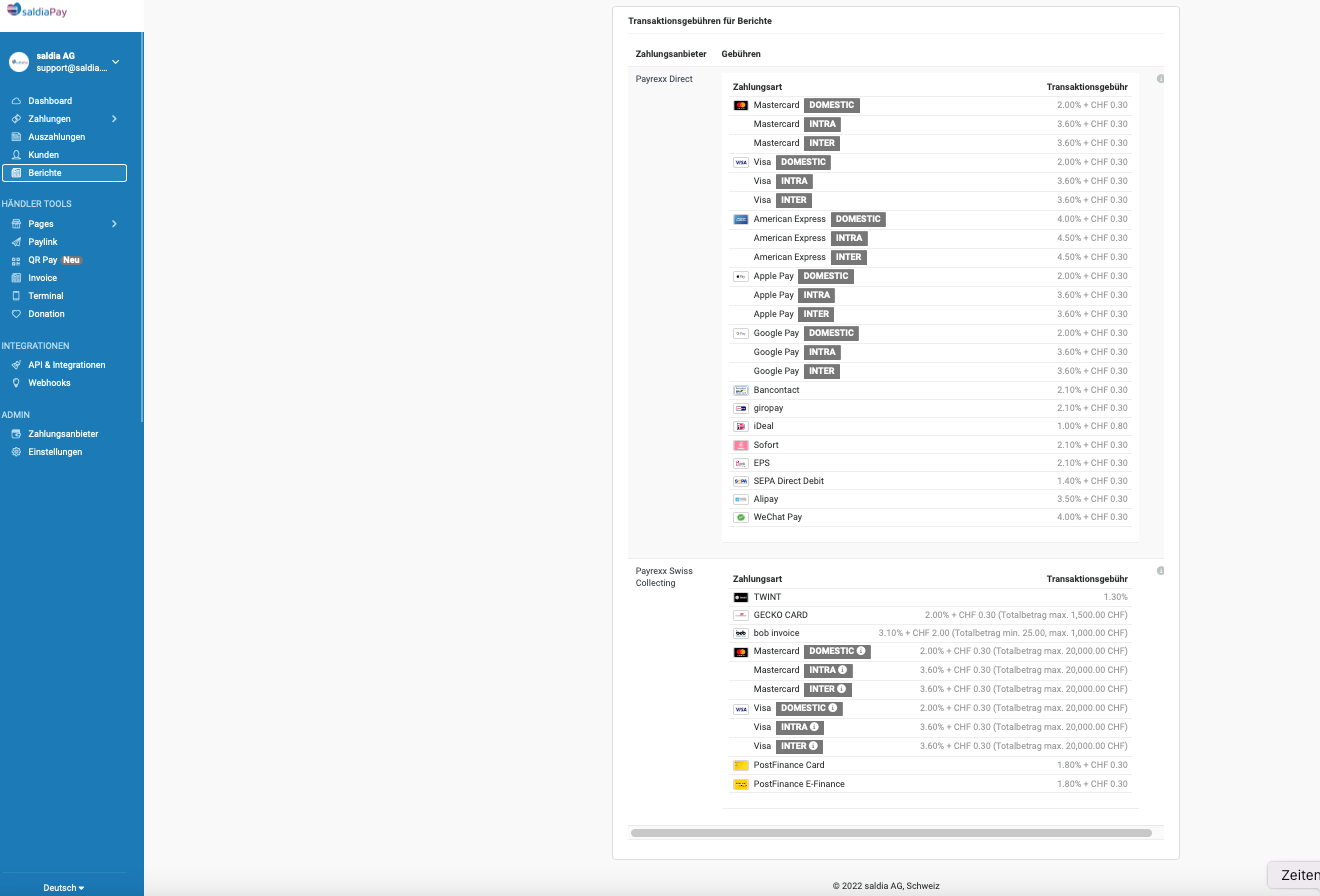
Zahlungsanbieter: Du kannst hier die Zahlungsanbieter Konfigurieren. Wenn du wissen möchtest wie du das machst sehe den Supportbeitrag Zahlungsmittel zuweisen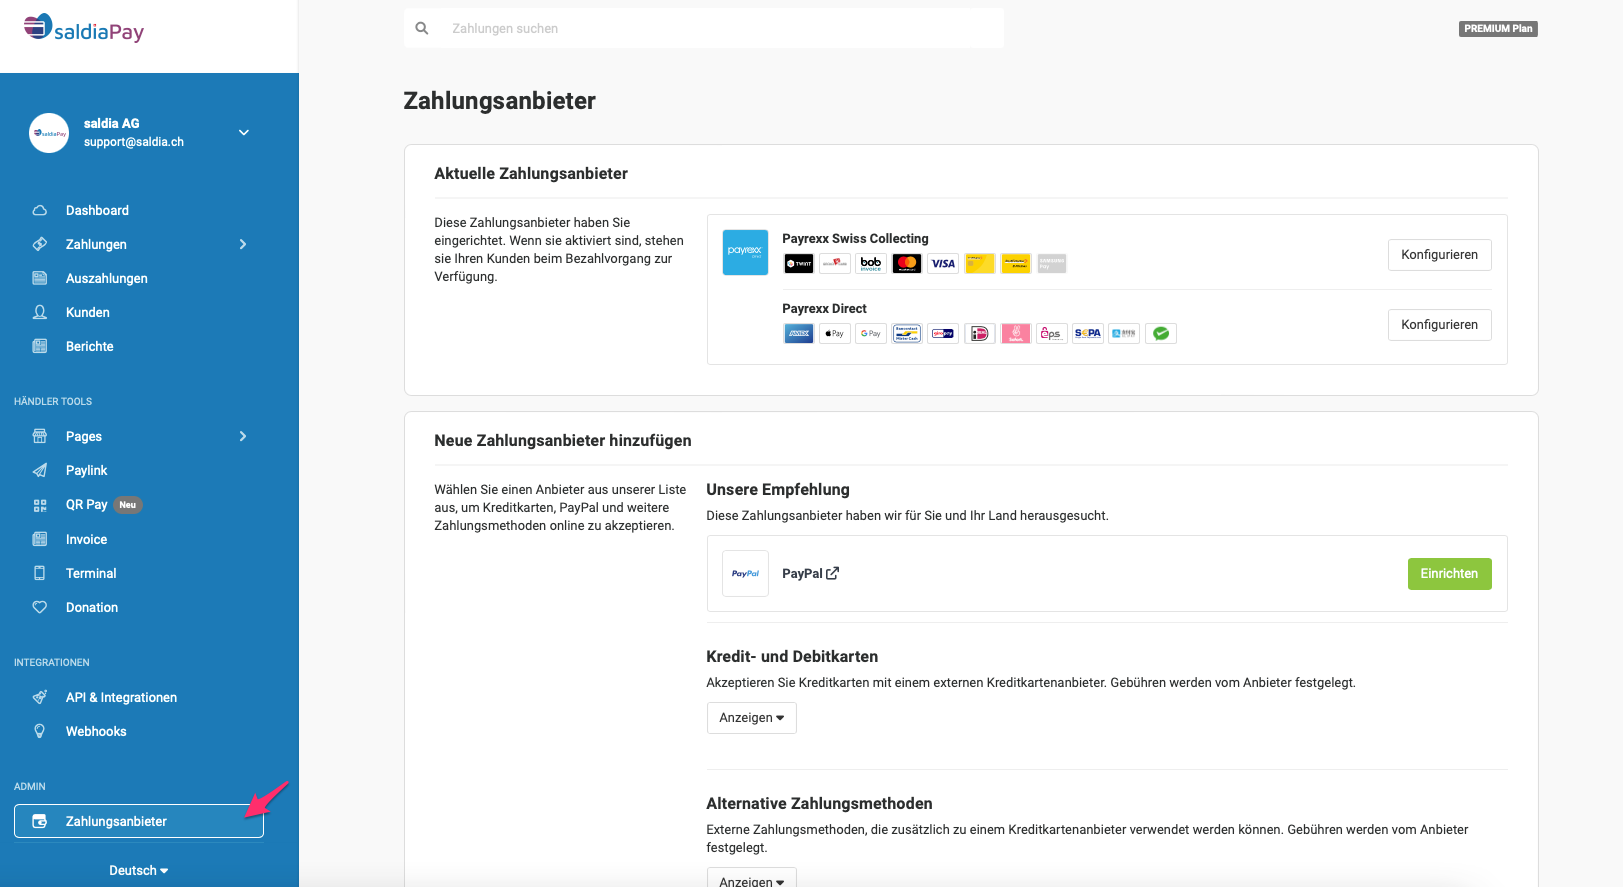
Paylink: In dem Menupunkt "Paylink" kannst du einen Link erstellen, mit dem der Kunde dann zu einer Seite kommt in dem er den betrag bezahlen kann. Hier hast du einen Überblick über die Paylinks die du bis jetzt erstellt hast und ob sie schon bezahlt sind oder nicht. Um einen neuen Paylink zu erstellen, klicke auf den Button "Erstellen":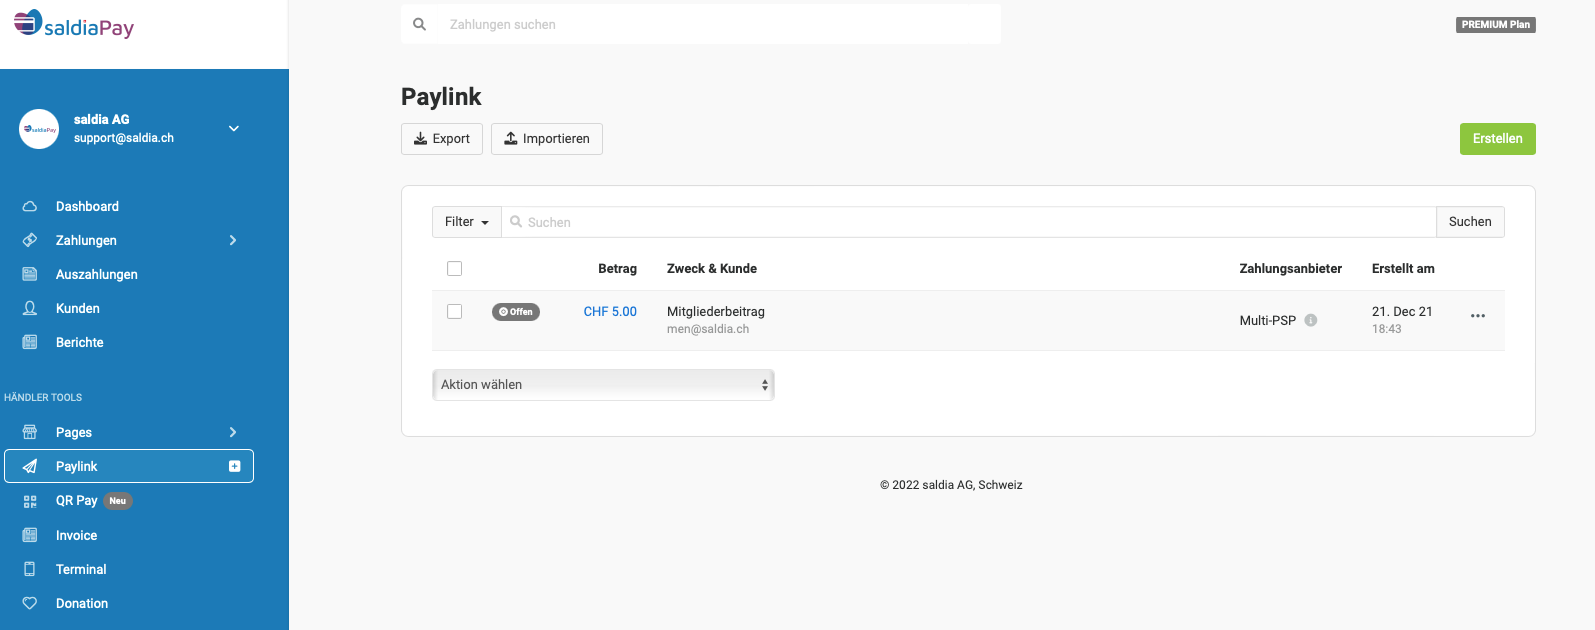
Gib den Zweck und Betrag der Zahlung ein. Du kannst auch Dateianhänge hinzufügen und ein Datum an dem der Link ablauft. Du kannst angeben mit welchen Zahlungsanbietern dieser Betrag bezahlt werden kann oder es auf "Alle" lassen um alle Anbieter zu erlauben. Die Darstellung der Paylink-Seite kann auch angepasst werden auf "Look & Feel Profil". Bei "Versenden" kannst du den Paylink direkt an deinen Kunden senden: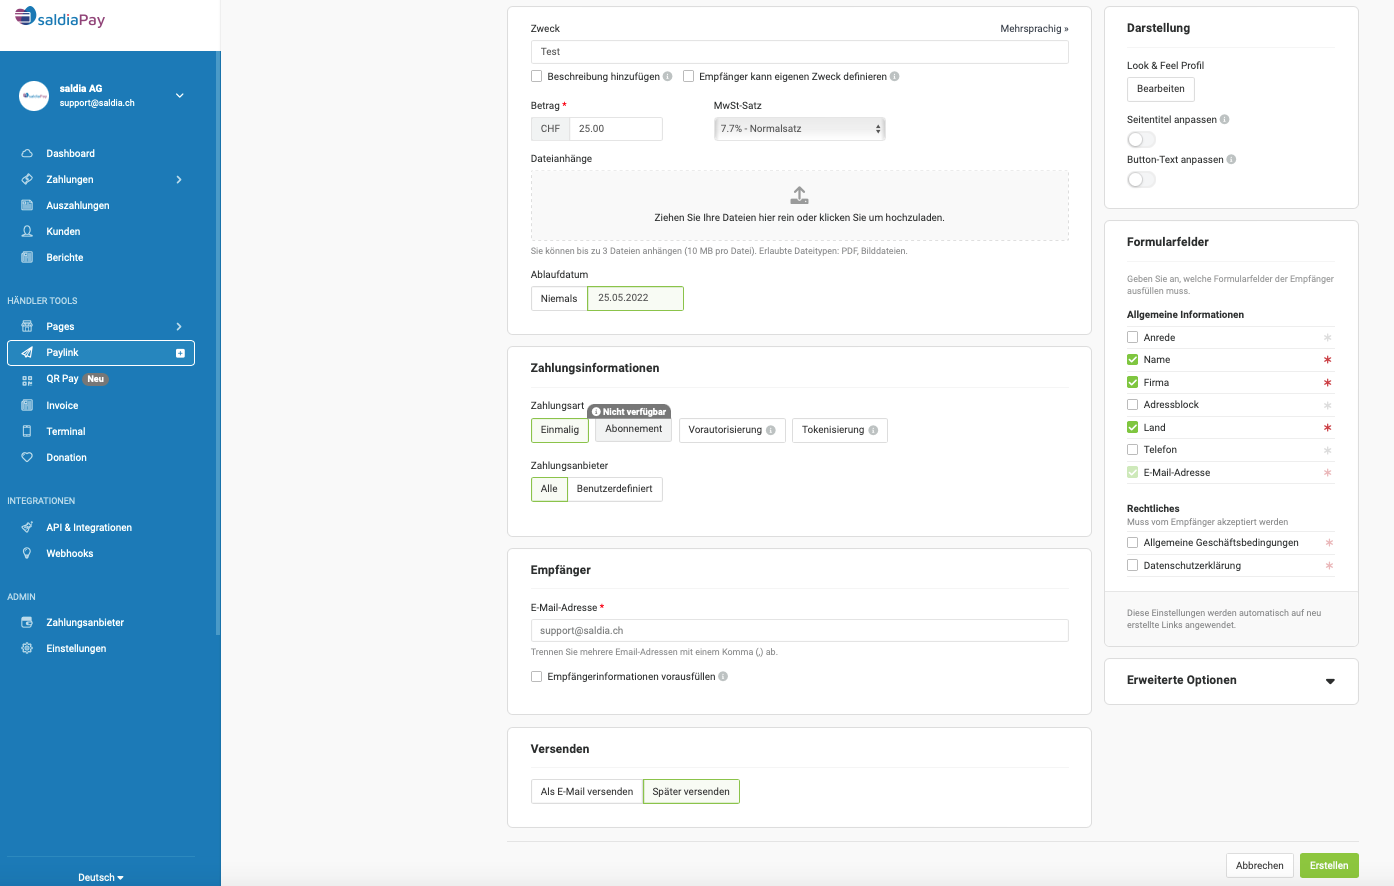
Der Paylink sieht dann beim öffnen des Links Standardmässig so aus: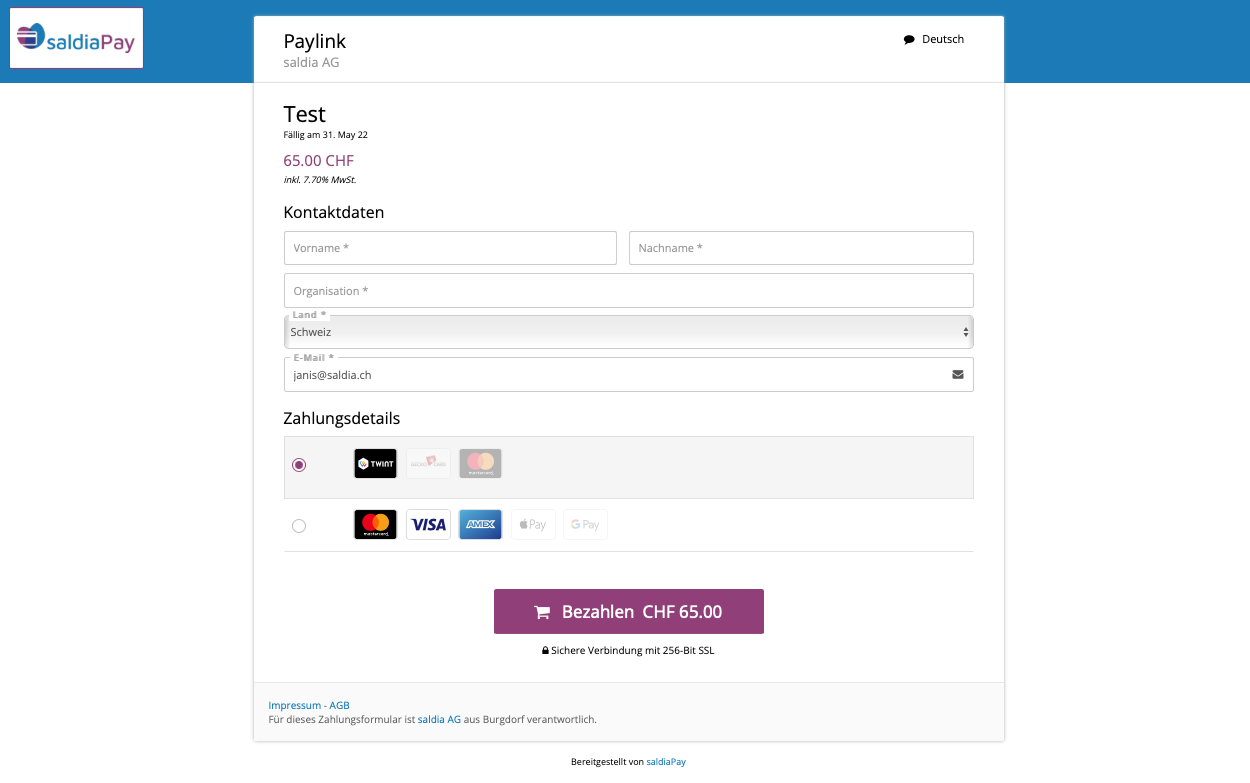
QR Pay: Du kannst auch einen QR-Code erstellen, welchen die Kunden scannen können um zur Bezahloberfläche zu gelangen. Es gibt verschiedene Möglichkeiten beim erstellen des QR-Codes. Du kannst einen Fixbetrag angeben der in der Bezahloberfläche direkt eingefügt wird oder du kannst auch einen Mindestbetrag angeben, damit der Kunde selbst eintragen kann wieviel er sendet. Der Kunde kann jedoch nicht weniger als den Mindestbetrag eingeben. Beim offenen Betrag kann der Kunde selbst eintragen wieviel er sendet. Der QR-Code kann als Datei downloaded oder als Poster Ausgedruckt werden: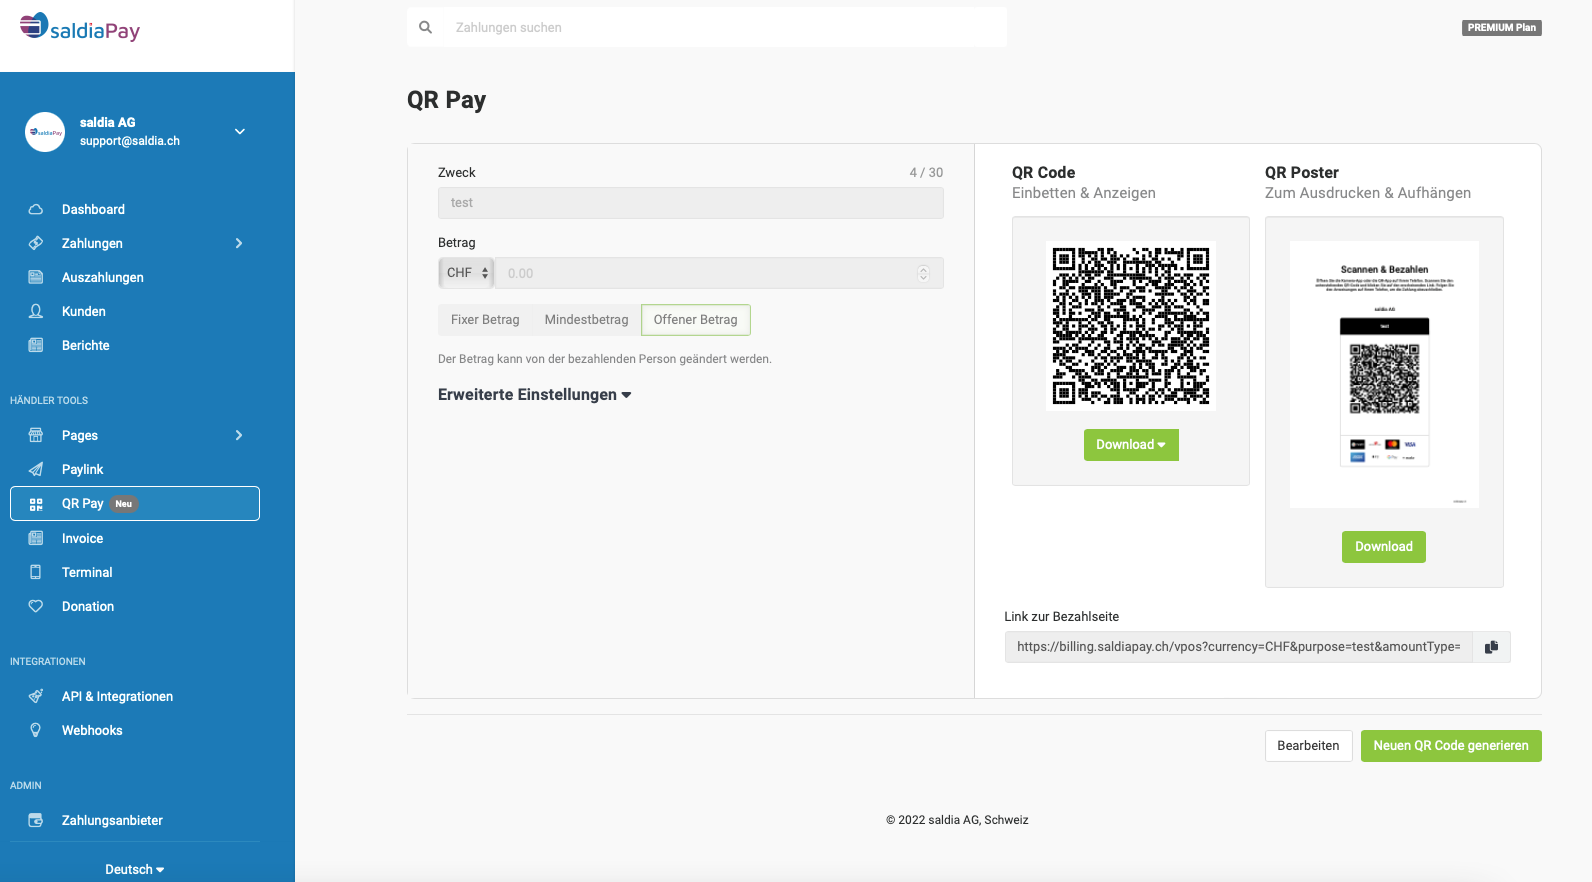
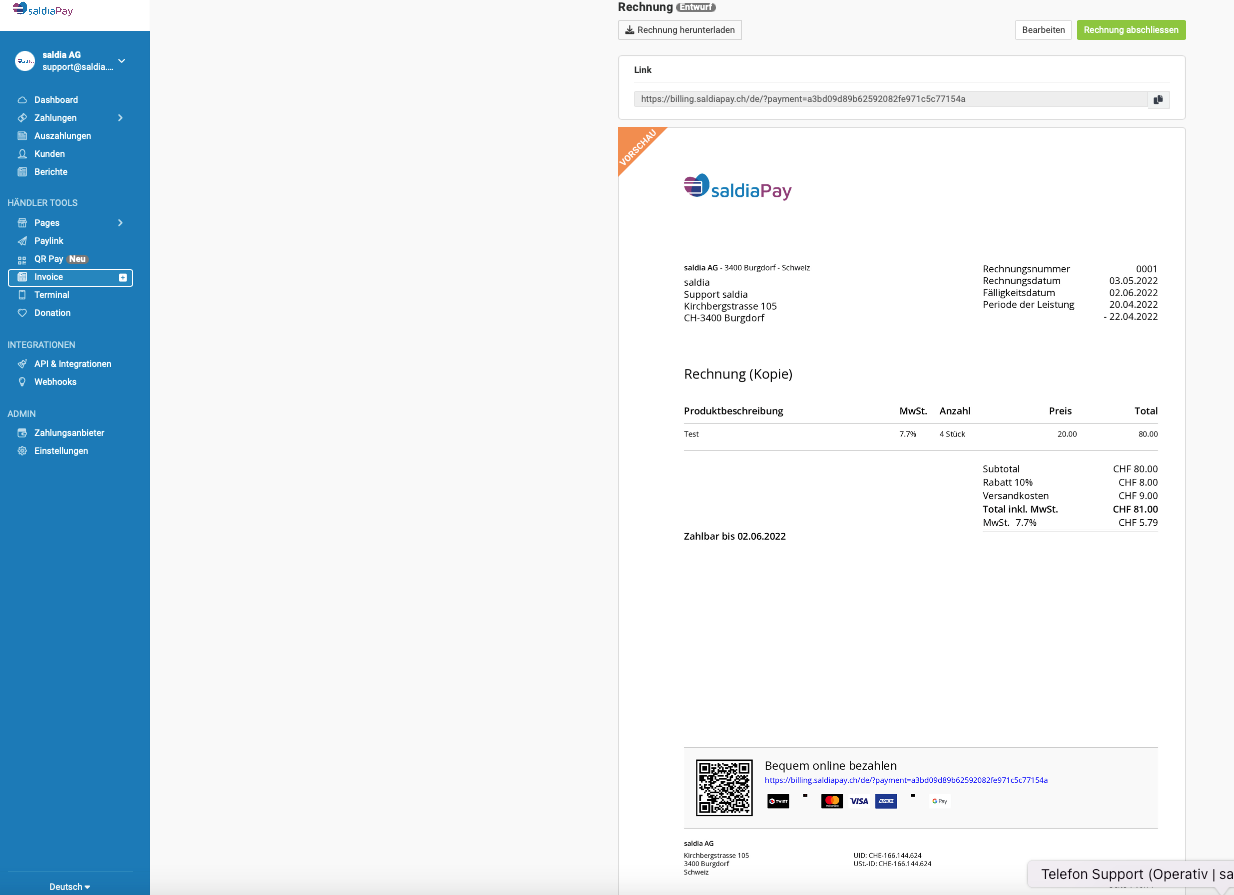
Invoice: Du kannst komplette Rechnungen erstellen und verschicken. Sende deinen Kunden auf einfache Weise professionelle Rechnungen. Mit Invoice können Rechnungen sofort online bezahlt werden. Um eine Rechnung zu erstellen klicke auf den Button "Erstellen":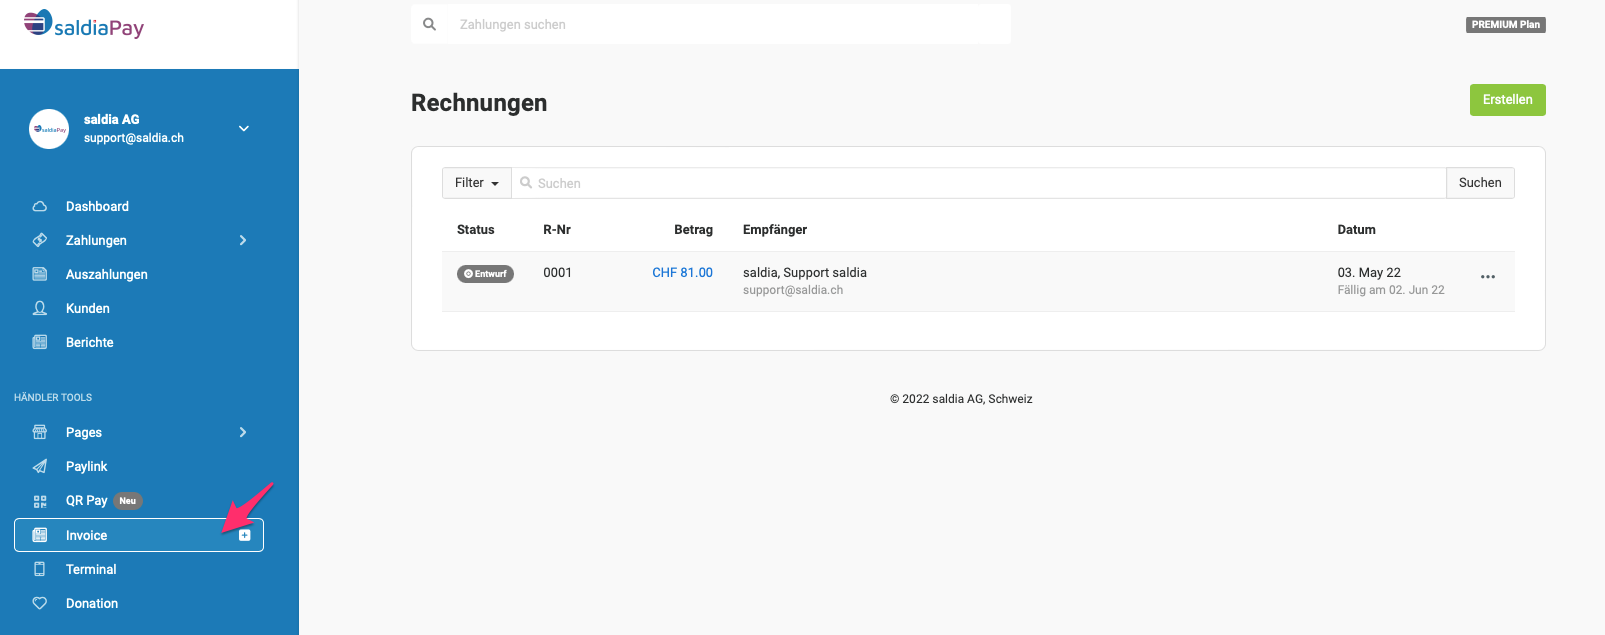
Gib die Informationen zu dem Kunden an und trage die Details zur Rechnung ein: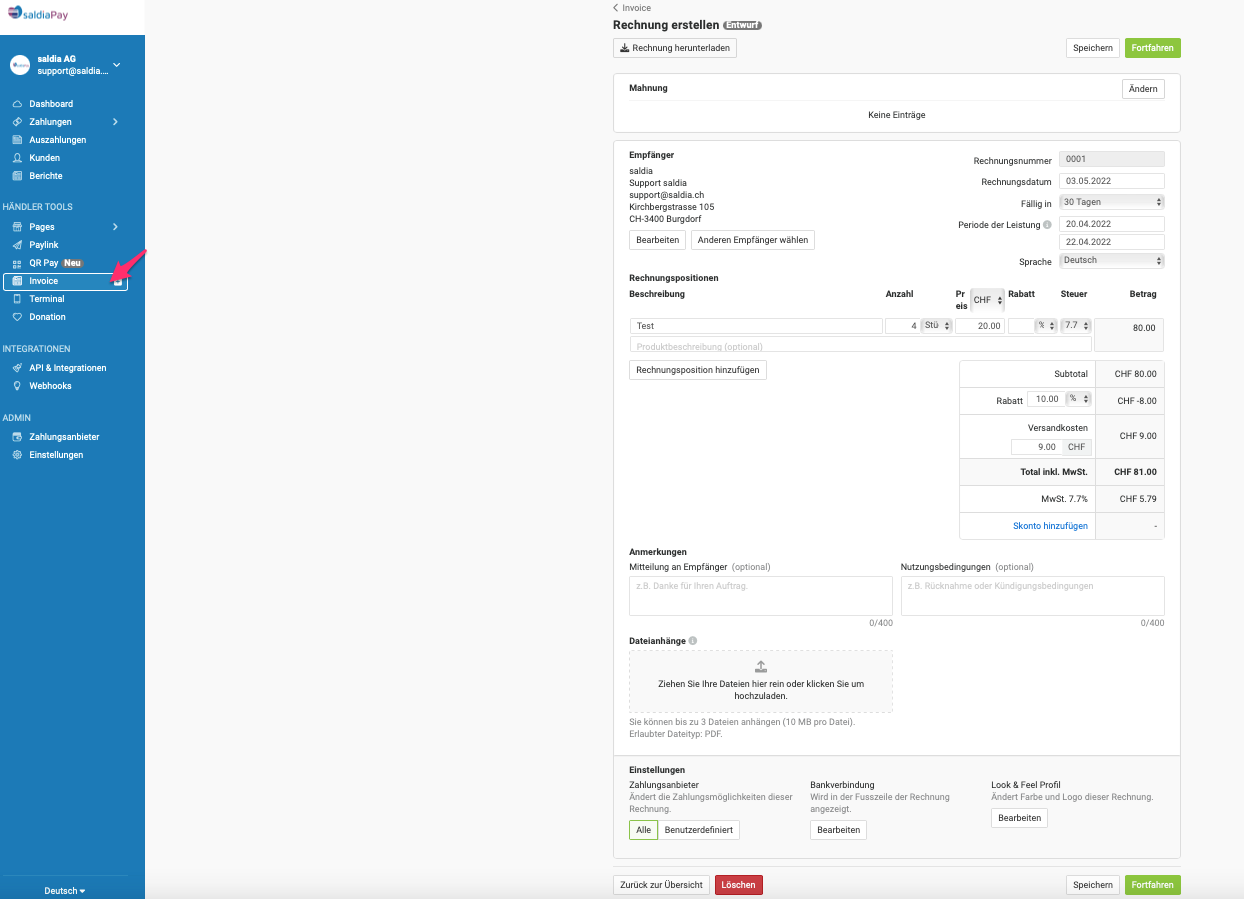
Wenn du alle Angaben für die Rechnung gemacht hast, siehst du hier eine Vorschau wie die Rechnung aussieht. Klicke auf "Rechnung abschliessen" um die Rechnung per Mail an den Kunden zu verschicken: